Posted by: GTPCompG
Trash Air Intake(56k no)*NEW PICS* - 12/20/09 04:10 AM
Ever since I saw the thread where someone made a trash can heat shield box I had wanted to do it. For $5 dollars I didn't think I could go wrong. I decided to undergo it. I didn't want to get an aftermarket one because they are too expensive, and I didn't want to have a HAI as it looks bad and isn't separated by anything from the engine bay. *I do not claim any gains from this mod as I feel it is more for looks then anything*
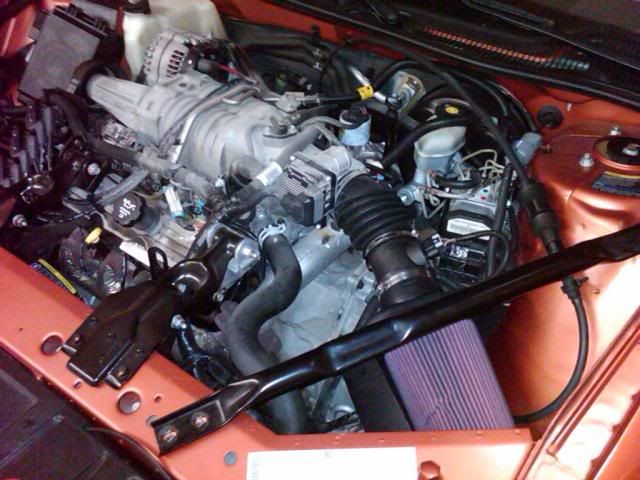
Just to show you how far this intake setup has come I will post the pre-heatsheild setup I had before it.
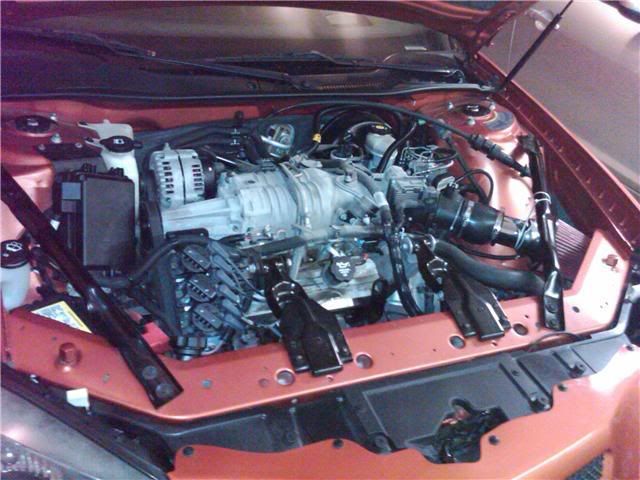
So now lets forget the old setup...time for the new.
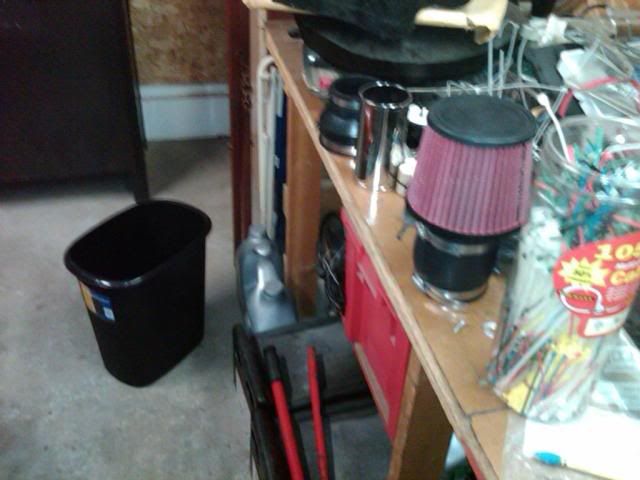
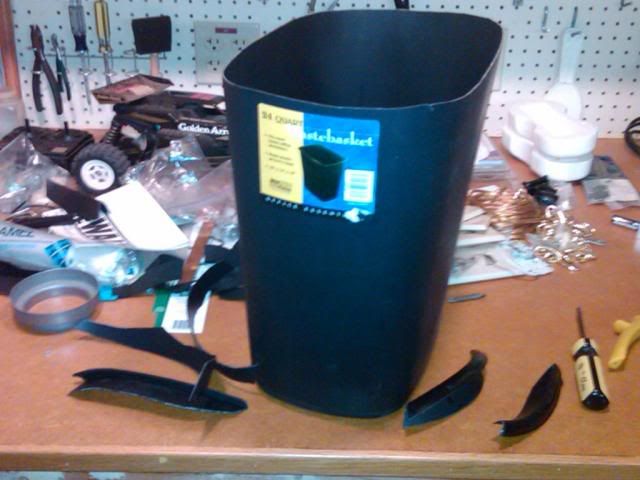
I started out by first going to my local kmart (only thing near my home in small town iowa) and found a black small trash can. I also got a small 3" section of piping that has clamps on both ends, smooth inner wall, and was 5 dollars and a Spectre Filter. In all it costed me around 35ish dollars for everything.
Once I got the materials I started a crude cut of the fit and how I wanted it to look, and made a hole using a compass and cut it out. To cut I simply used some tin cutters and a ruler and a pencil to draw in where i wanted my cut marks. I took plenty of time in my cutting, but it is very short from perfect. I'm sure someone could do better then I did in this stage, but I was limited on tools.
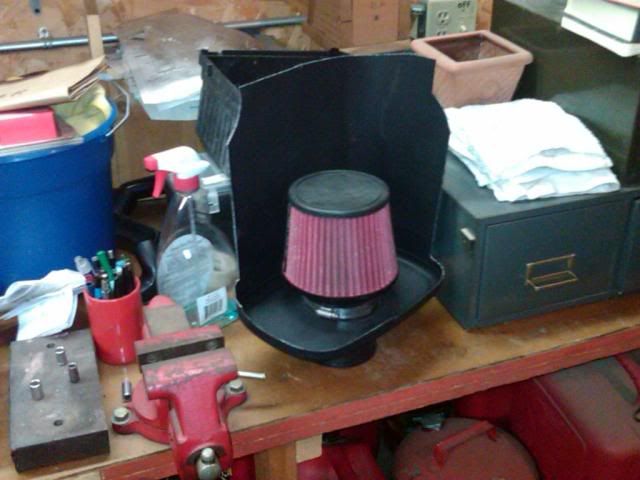
From here I just fiddled around with what fit best. It took several attempts to get the airbox cut to the correct size and where I wanted it to be. I tried to position mine as far away from any heat source as I possibly could.

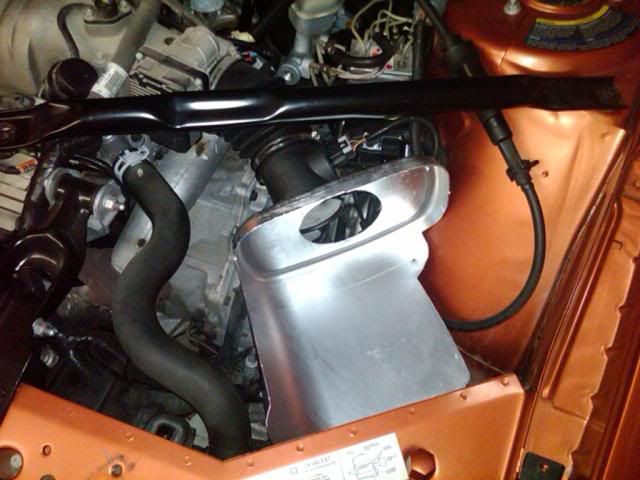
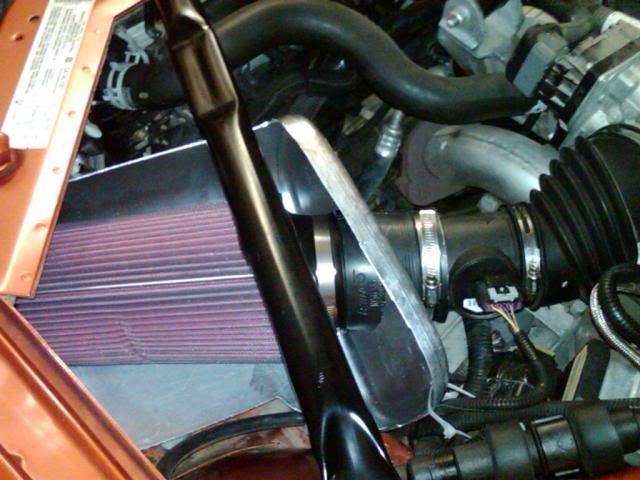
Once I got it into correct position I did some final trimming and made holes so I could zip-tie the heat shield in. I used 3 holes (if someone wants pictures of how I did this I can get close ups). The center hole holds up the filter so it doesn't sag downwards and touch the bottom. If anyone is wondering where I put the PCM it is zip-tied to the frame under the heatsheild box.
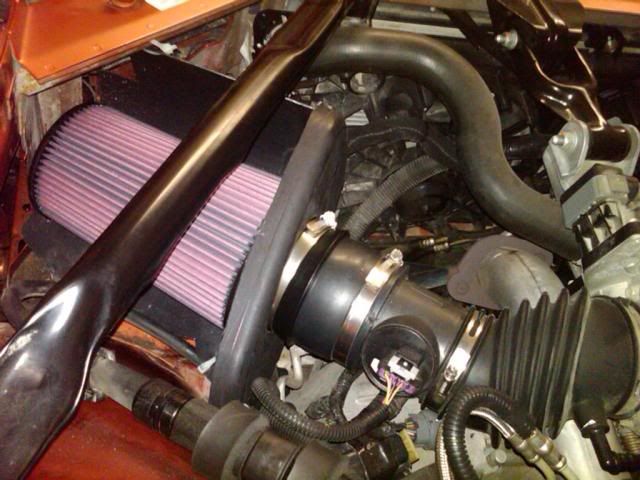
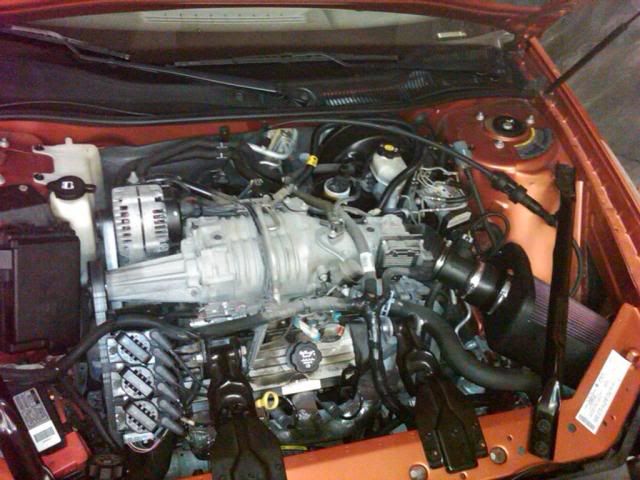
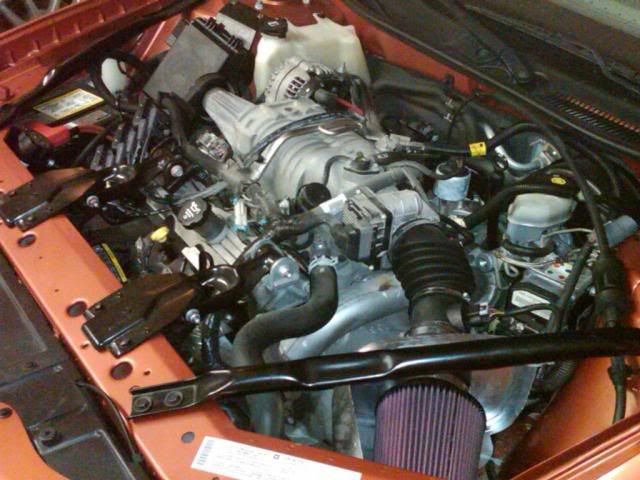
So here are my final pictures, I am going to get some foam to put on top much like the aftermarket CAI's have. Hope you all enjoy the pics and hope this maybe inspires some ppl to try.

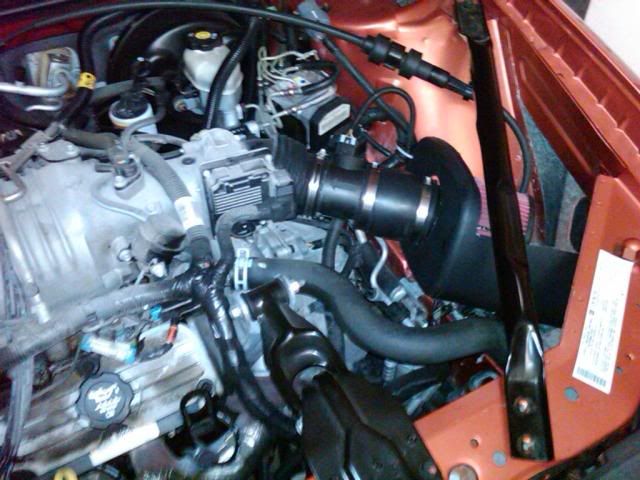
If anyone wants a write-up I could make one. I drove it around for about 30 minutes and everything was great. I have no ways to measure gains/loses so I don't know how this performs over a standard Hot air intake, but this looks better and is a better method to hold up the intake piping and filter then using zip ties.
Please tell me what you guys think of this.
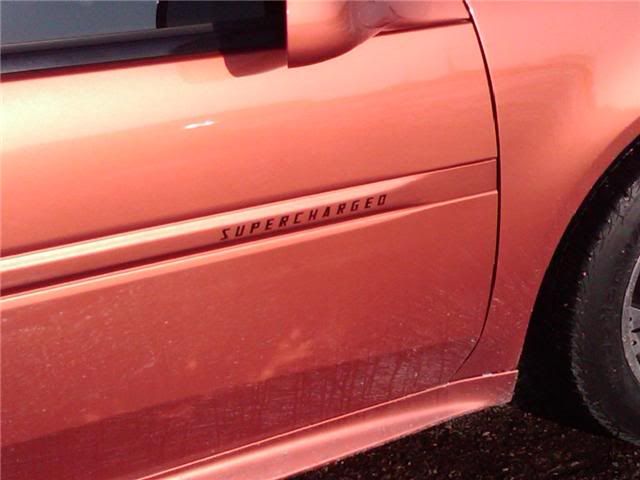
I also didn't want to start a seperate thread to this so I will add it to this. I got my SC decals in and got some pics of it.
*Update*
I drove the car for about an hour today, the heat shield itself was warm on the outside but the filter was cold to the touch, however this could be due to 39 degree weather. I'm glad I didn't put the filter in the fenderwall because there was some splash up in there from the road and it had gotten up into the engine bay as well (around close to my filter)
Just to show you how far this intake setup has come I will post the pre-heatsheild setup I had before it.
So now lets forget the old setup...time for the new.
I started out by first going to my local kmart (only thing near my home in small town iowa) and found a black small trash can. I also got a small 3" section of piping that has clamps on both ends, smooth inner wall, and was 5 dollars and a Spectre Filter. In all it costed me around 35ish dollars for everything.
Once I got the materials I started a crude cut of the fit and how I wanted it to look, and made a hole using a compass and cut it out. To cut I simply used some tin cutters and a ruler and a pencil to draw in where i wanted my cut marks. I took plenty of time in my cutting, but it is very short from perfect. I'm sure someone could do better then I did in this stage, but I was limited on tools.
From here I just fiddled around with what fit best. It took several attempts to get the airbox cut to the correct size and where I wanted it to be. I tried to position mine as far away from any heat source as I possibly could.
Once I got it into correct position I did some final trimming and made holes so I could zip-tie the heat shield in. I used 3 holes (if someone wants pictures of how I did this I can get close ups). The center hole holds up the filter so it doesn't sag downwards and touch the bottom. If anyone is wondering where I put the PCM it is zip-tied to the frame under the heatsheild box.
So here are my final pictures, I am going to get some foam to put on top much like the aftermarket CAI's have. Hope you all enjoy the pics and hope this maybe inspires some ppl to try.
If anyone wants a write-up I could make one. I drove it around for about 30 minutes and everything was great. I have no ways to measure gains/loses so I don't know how this performs over a standard Hot air intake, but this looks better and is a better method to hold up the intake piping and filter then using zip ties.
Please tell me what you guys think of this.
I also didn't want to start a seperate thread to this so I will add it to this. I got my SC decals in and got some pics of it.
*Update*
I drove the car for about an hour today, the heat shield itself was warm on the outside but the filter was cold to the touch, however this could be due to 39 degree weather. I'm glad I didn't put the filter in the fenderwall because there was some splash up in there from the road and it had gotten up into the engine bay as well (around close to my filter)