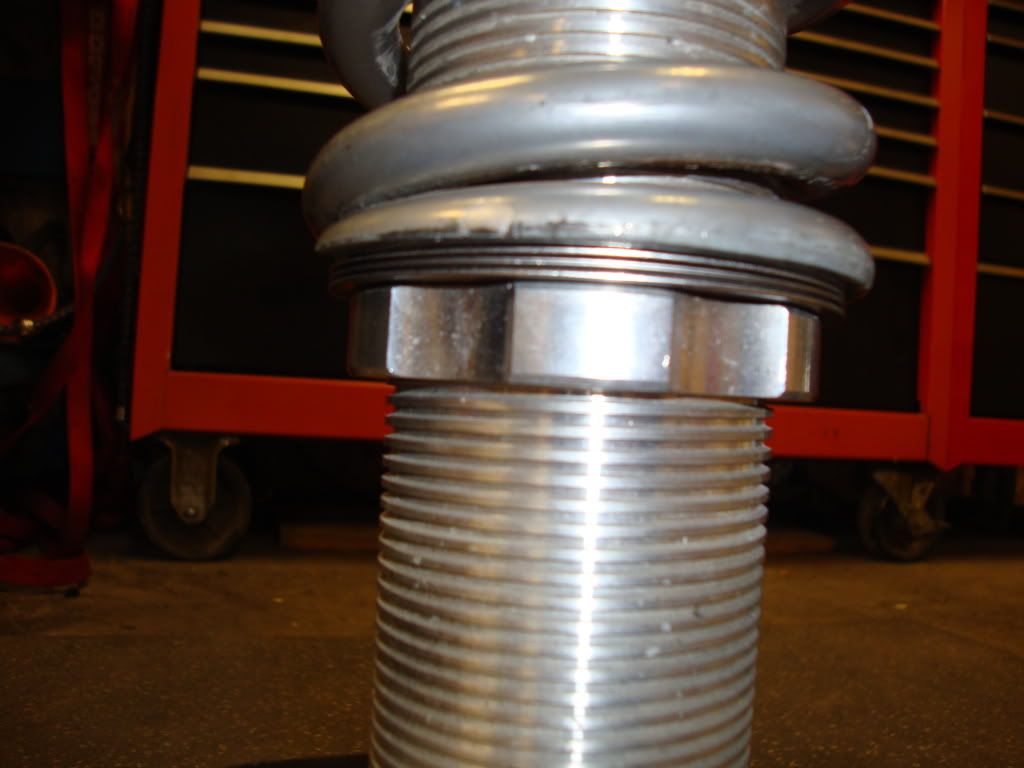
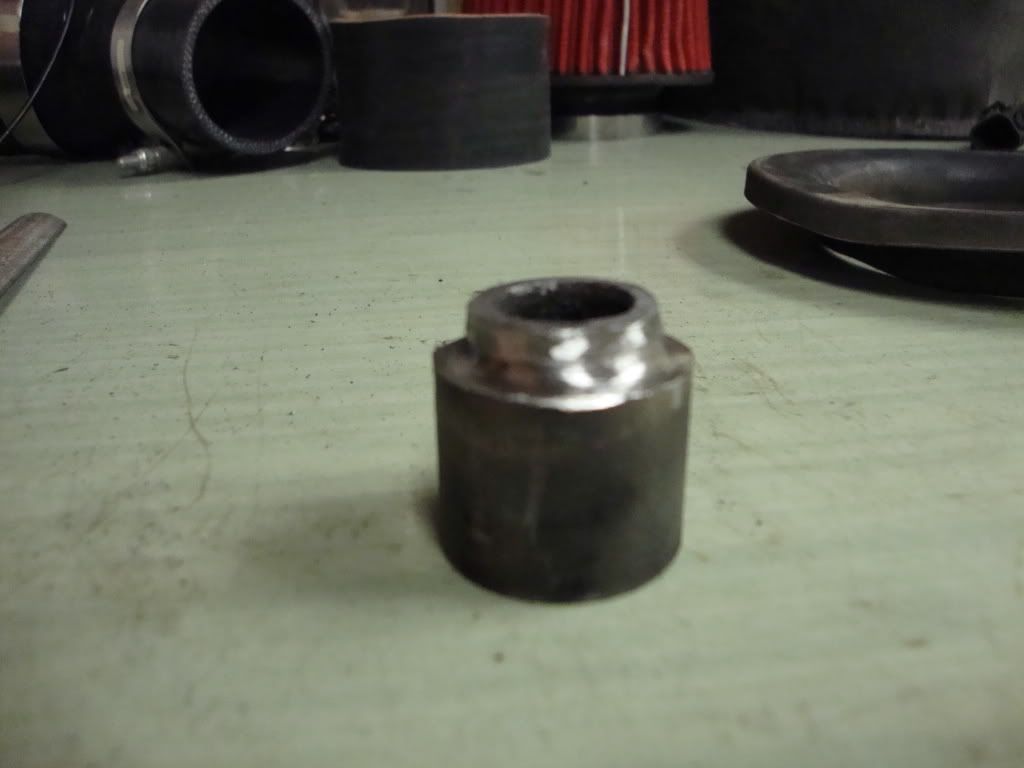
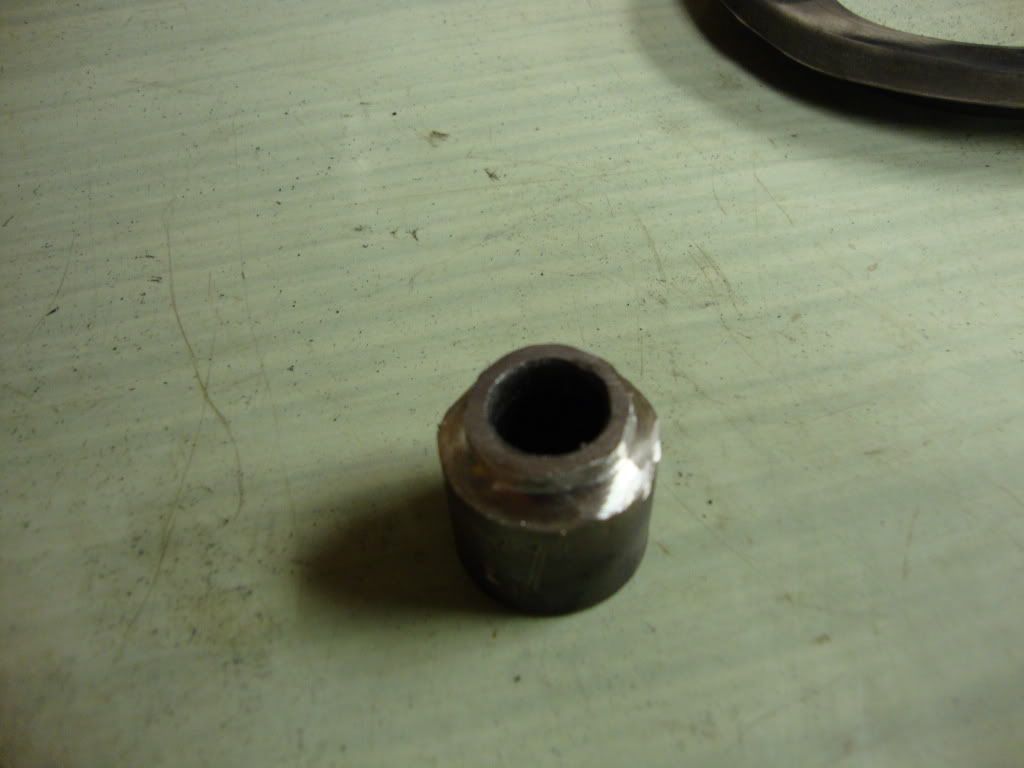
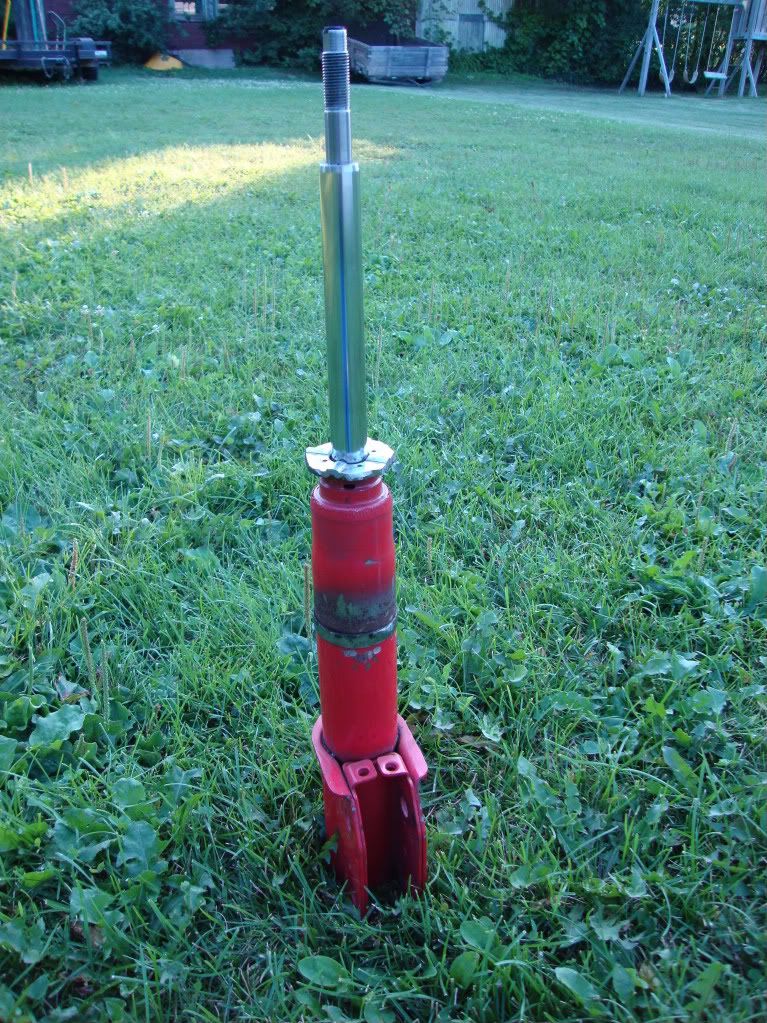
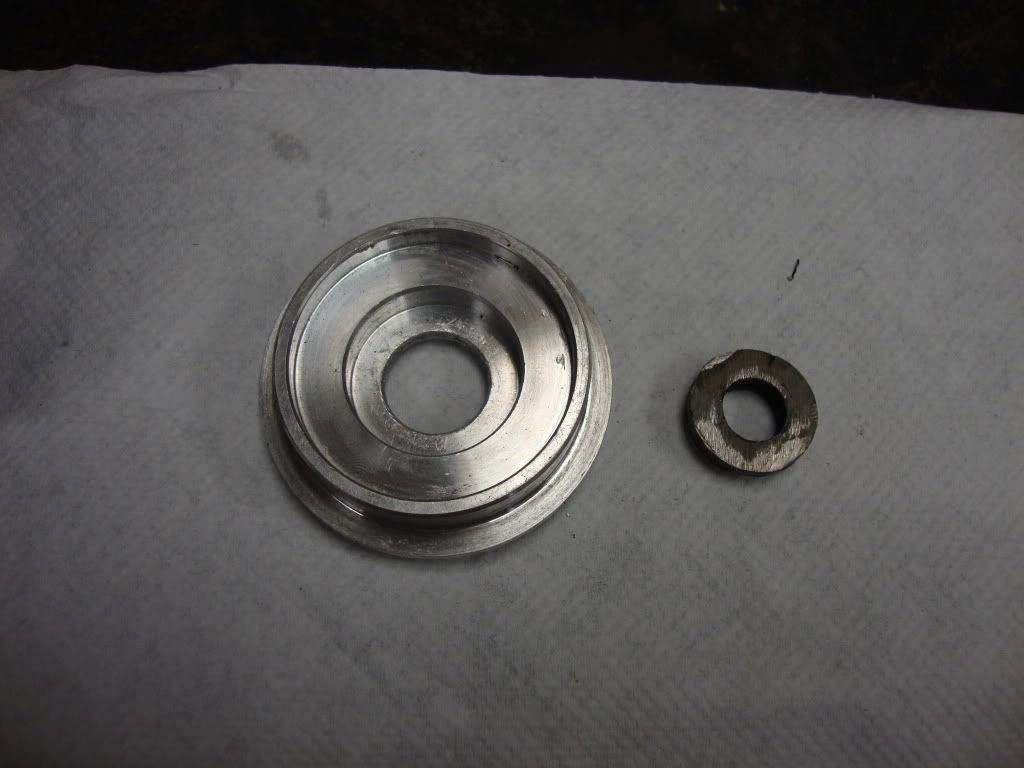
After that, pound the sleeve on.
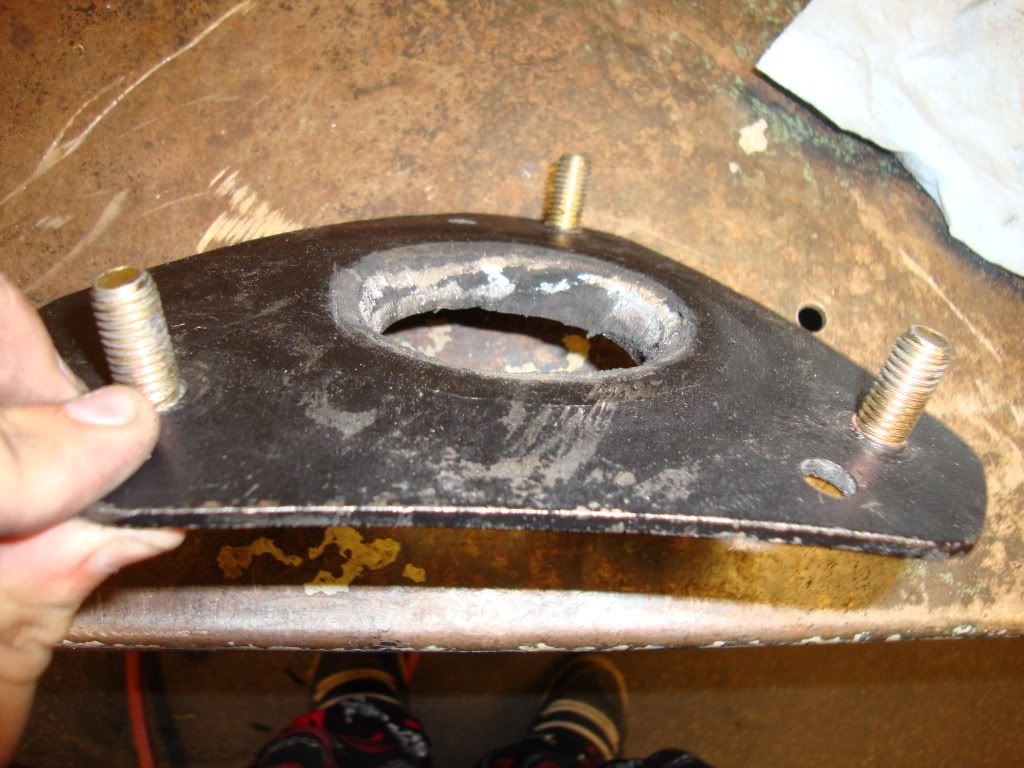
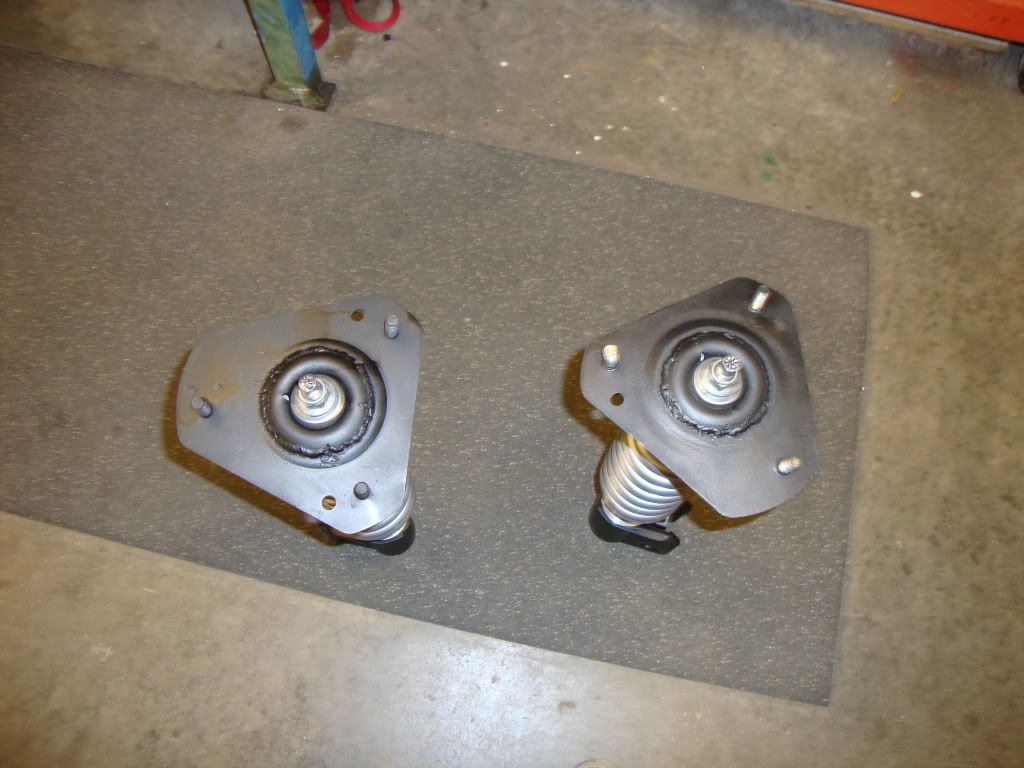
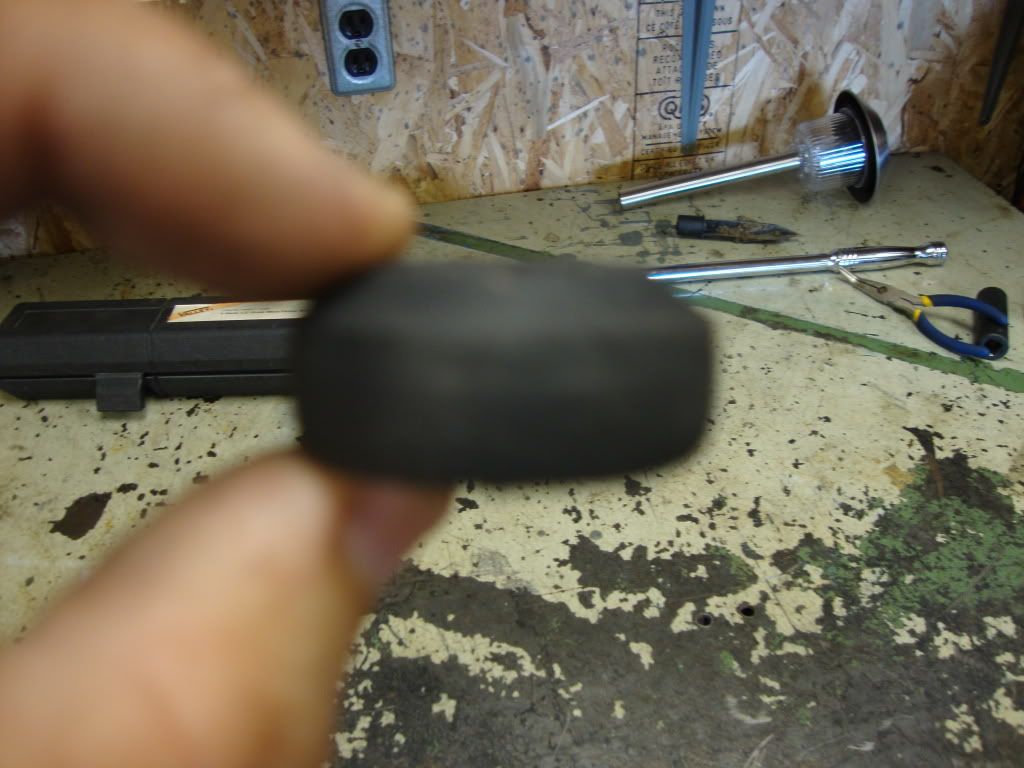
Now on to the bushing stack up. I used stock sway bar endlinks. I cut the top off of them so one side was perfectly flat and left the other side untouched.
If you look at the picture of them below, the sides I cut off are where the two bushings touch each other. You need these since the strut has to have some movement. One goes on each side of the mount.
I also used the metal washers that came with them. I drilled both the rubber bushings and the washers larger to fit over the strut shaft which you can see in a picture later on.

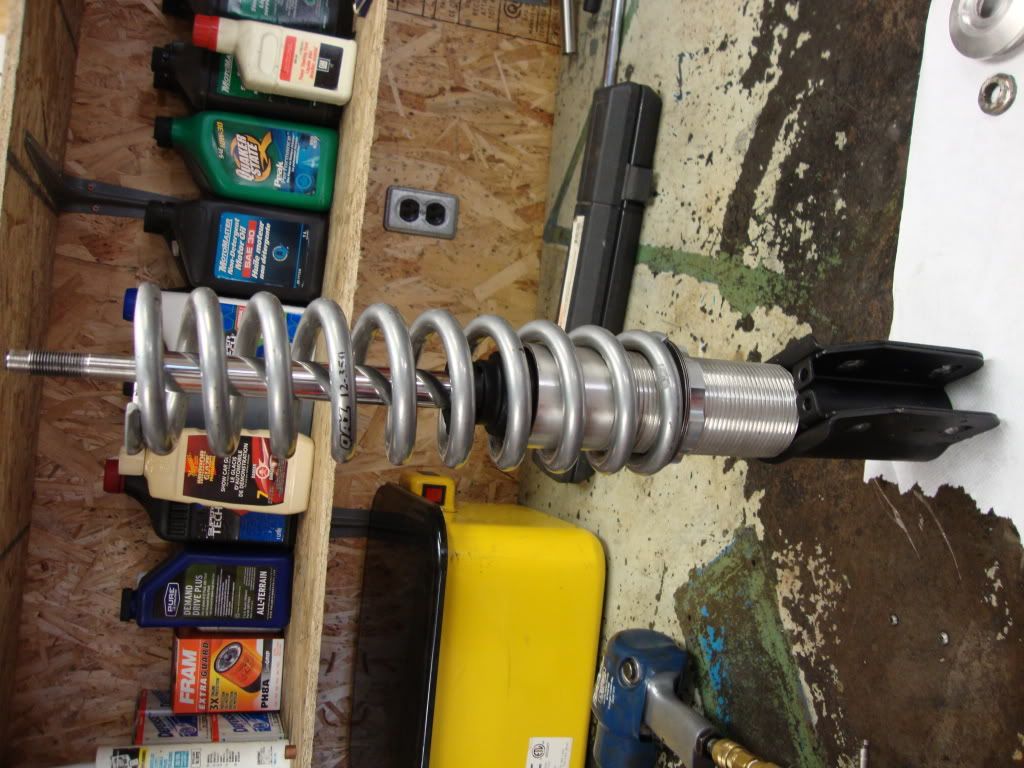
After that you're ready to assemble.
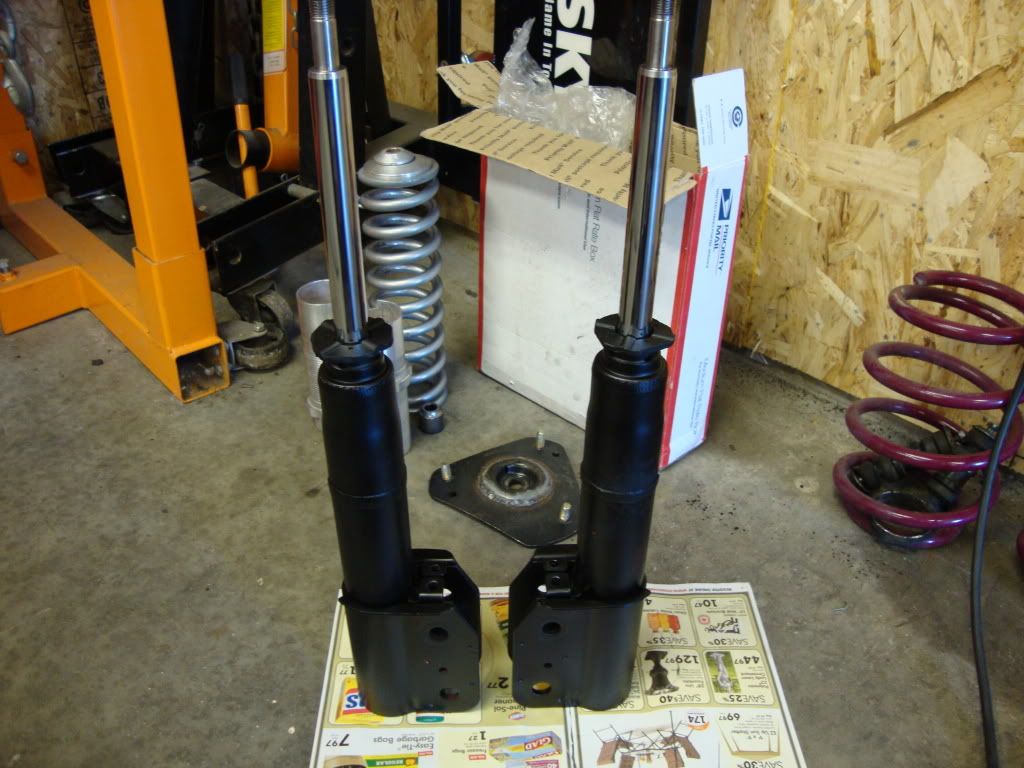
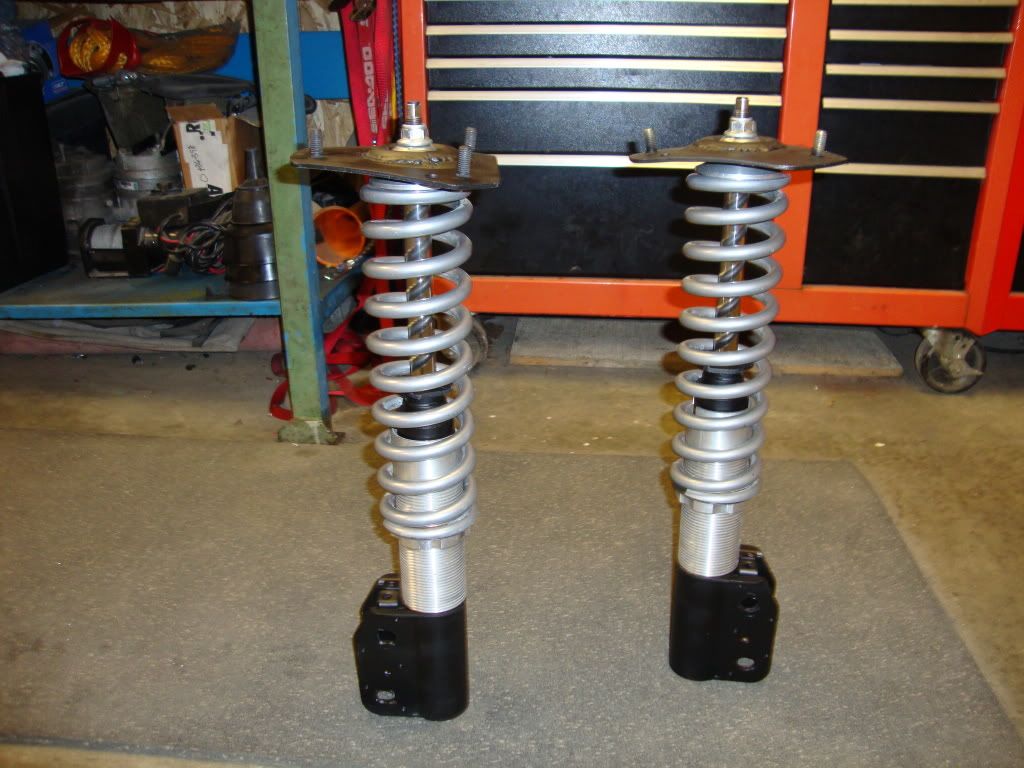
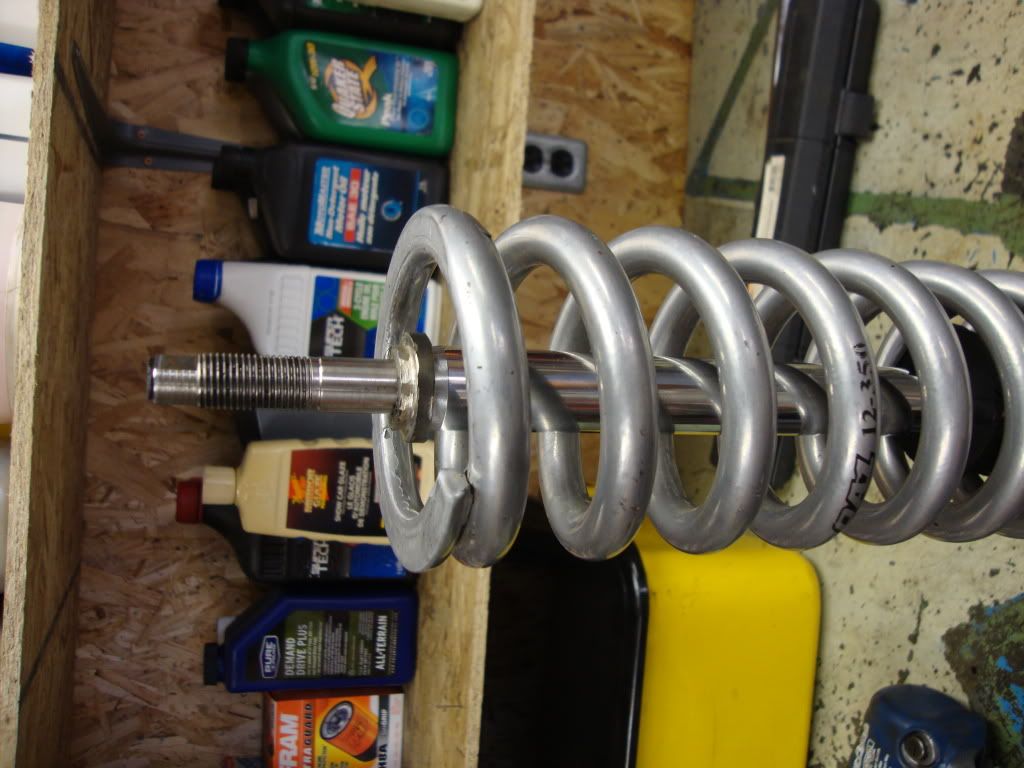
Struts
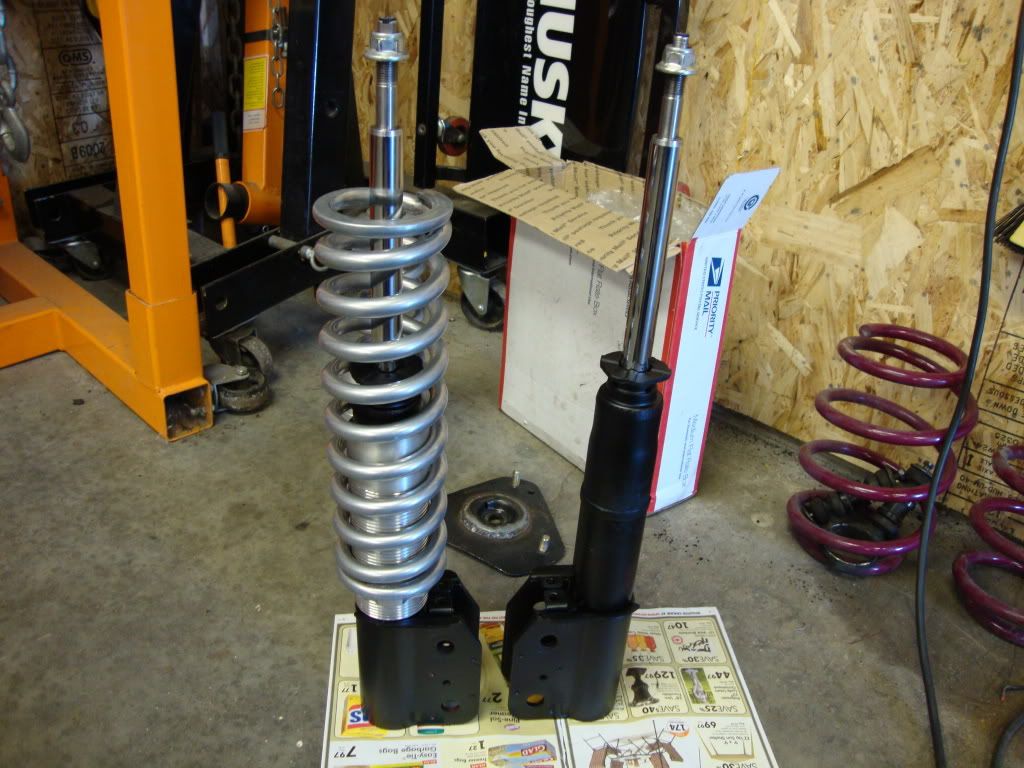
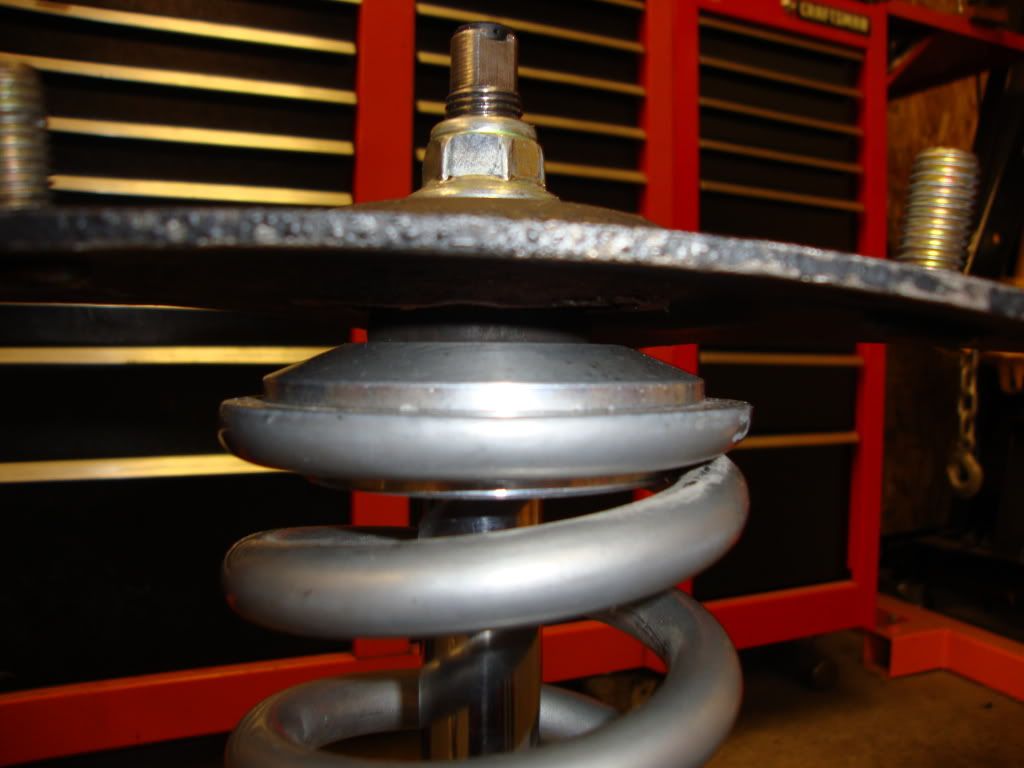
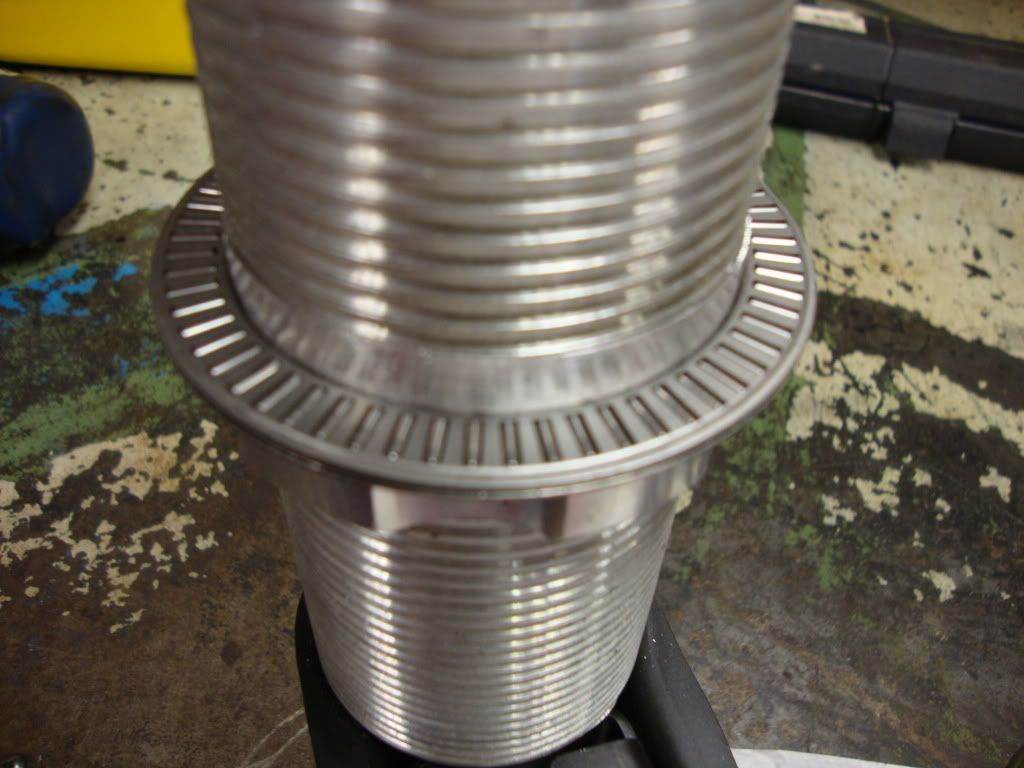
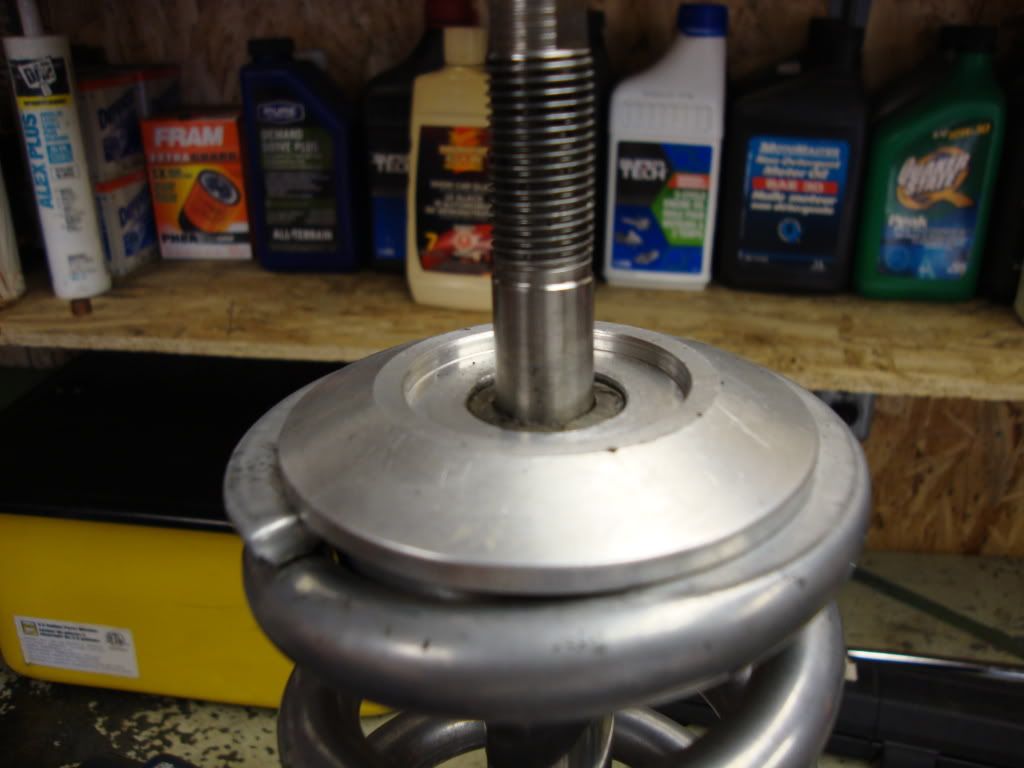
Sleeve, nut, washer, bearing, washer, spring
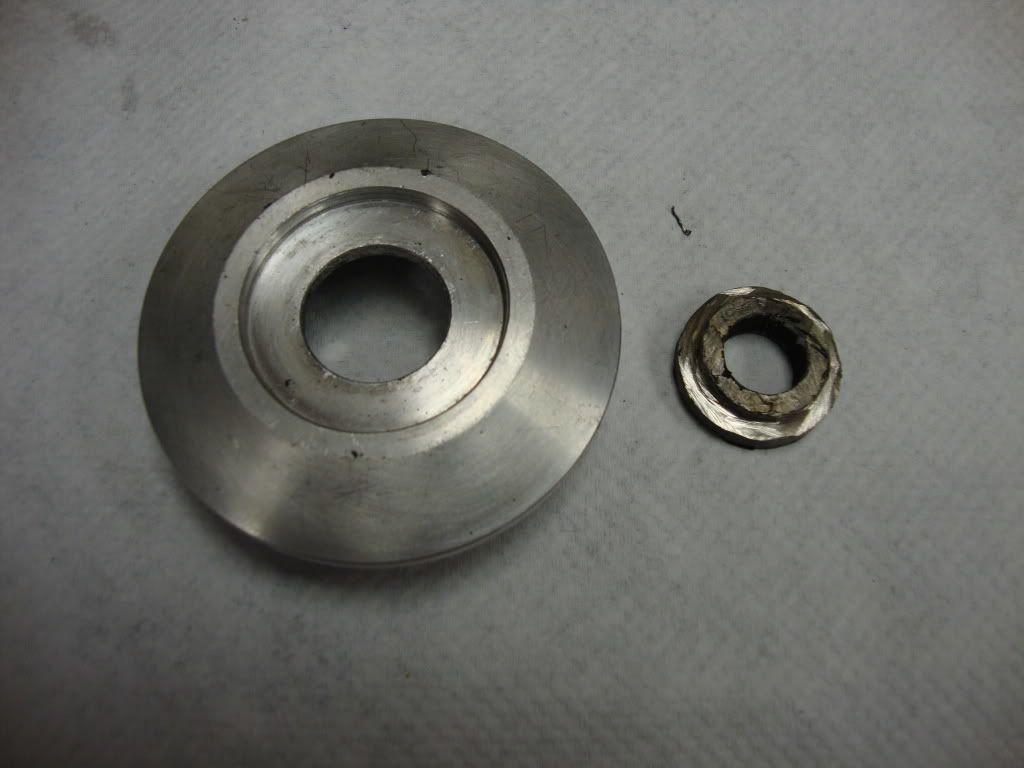
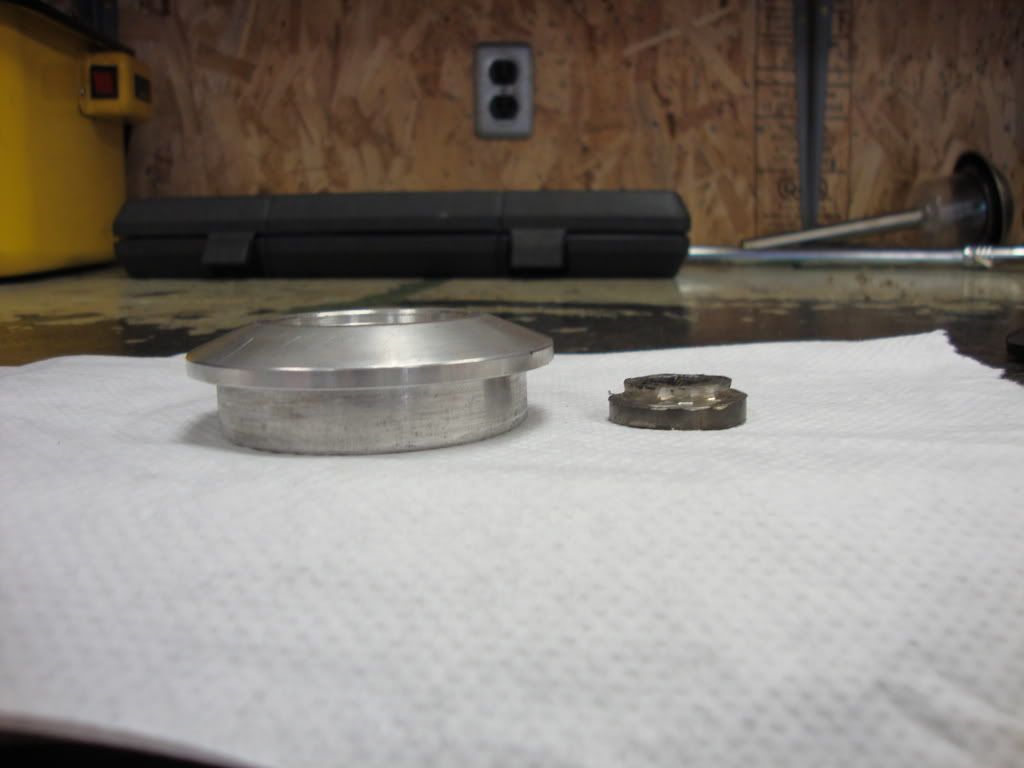
close up of washers and thrust bearing
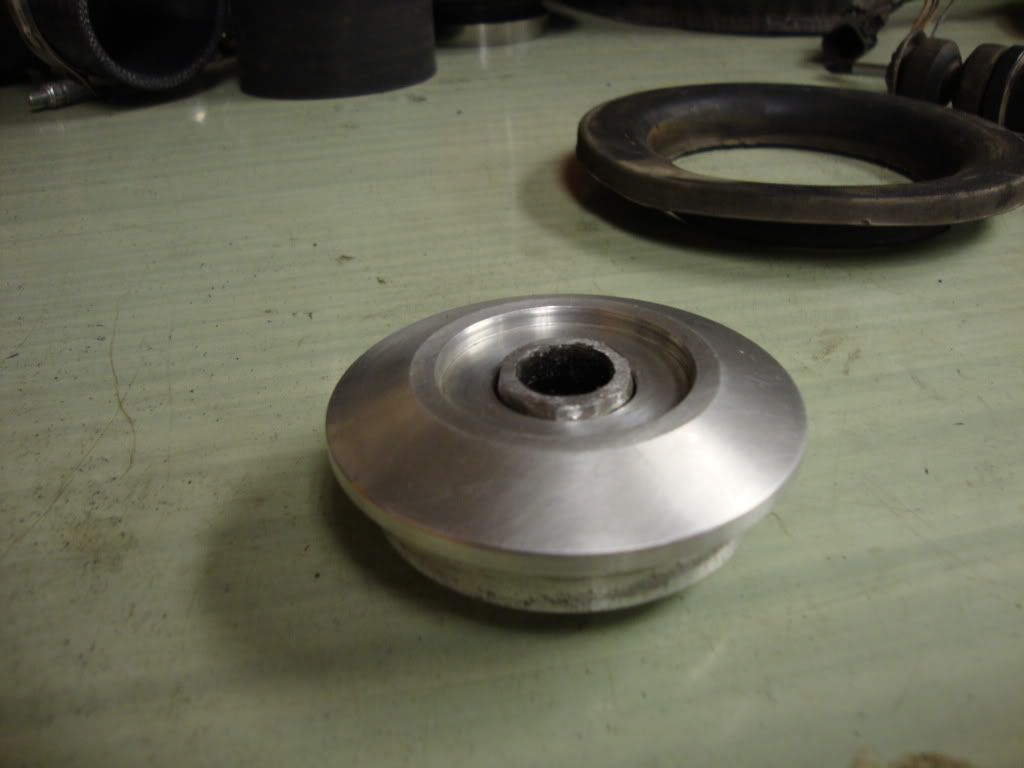
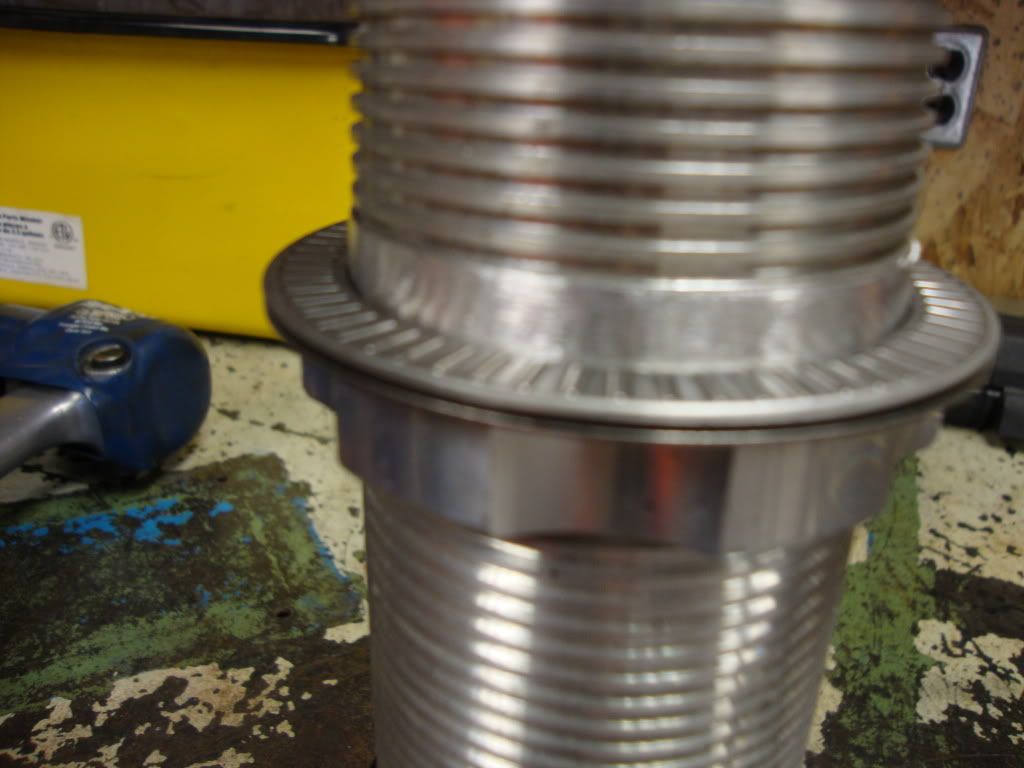
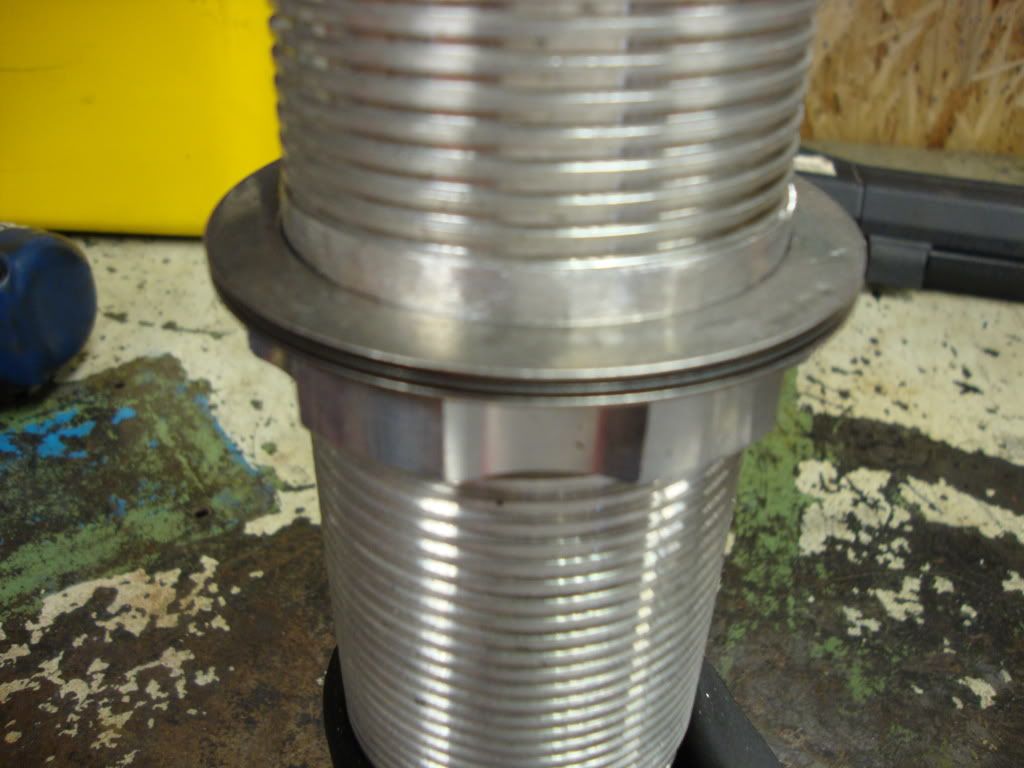
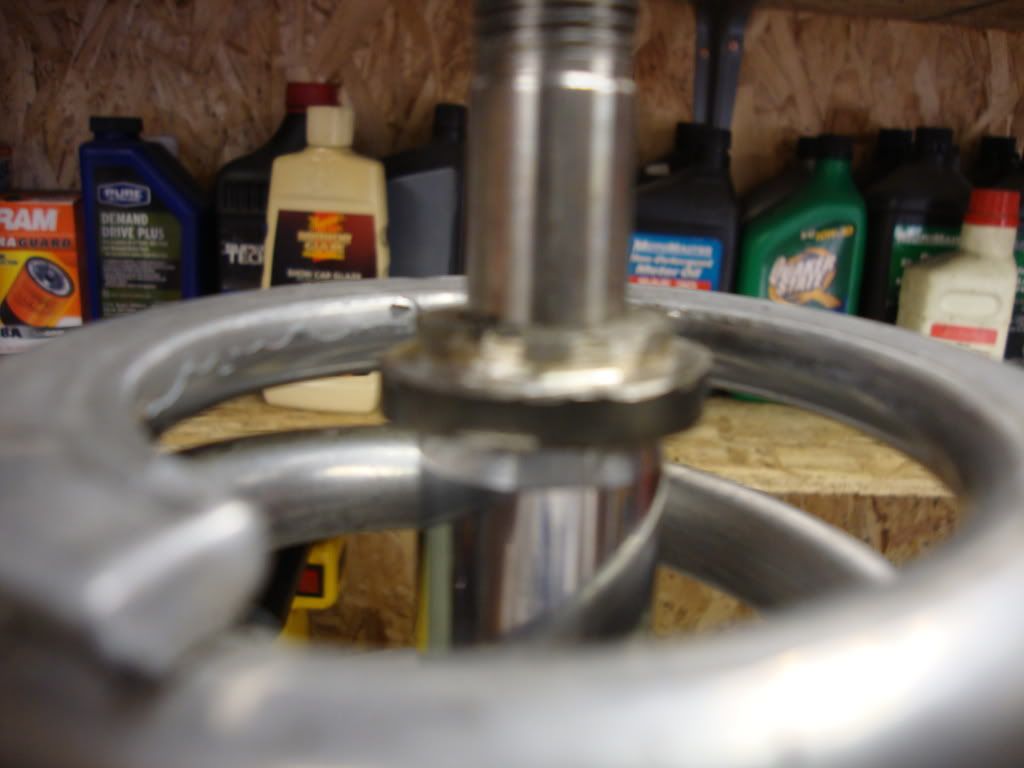
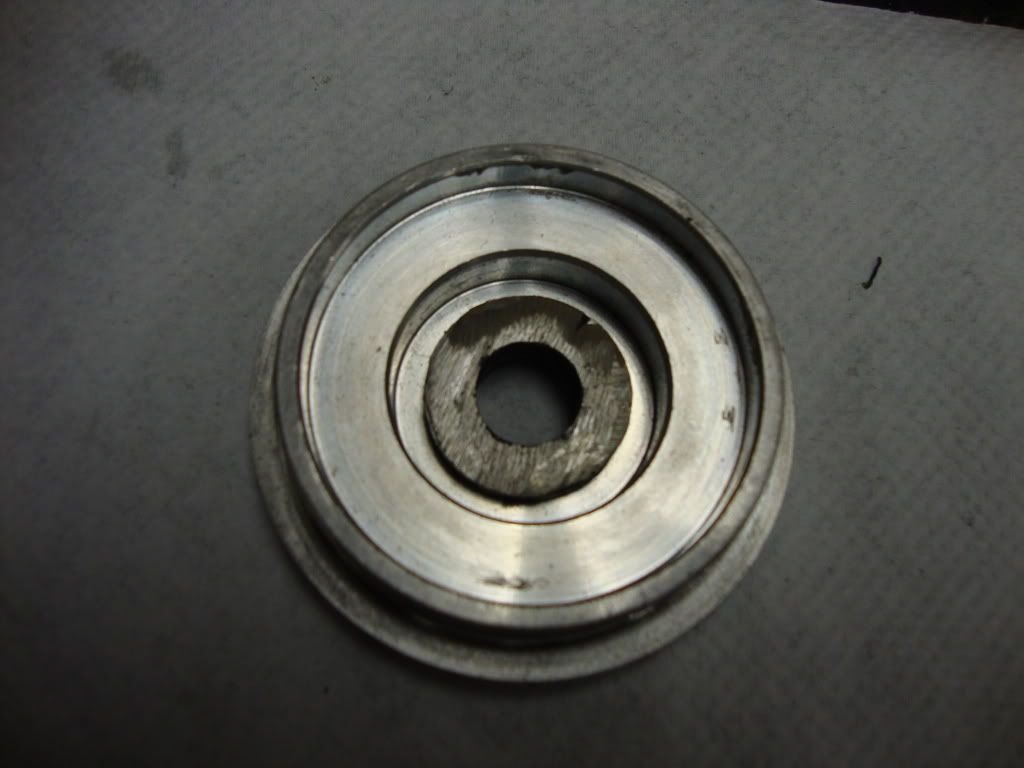
here I attempted to get a picture of the ground down collar and top hat while it was on
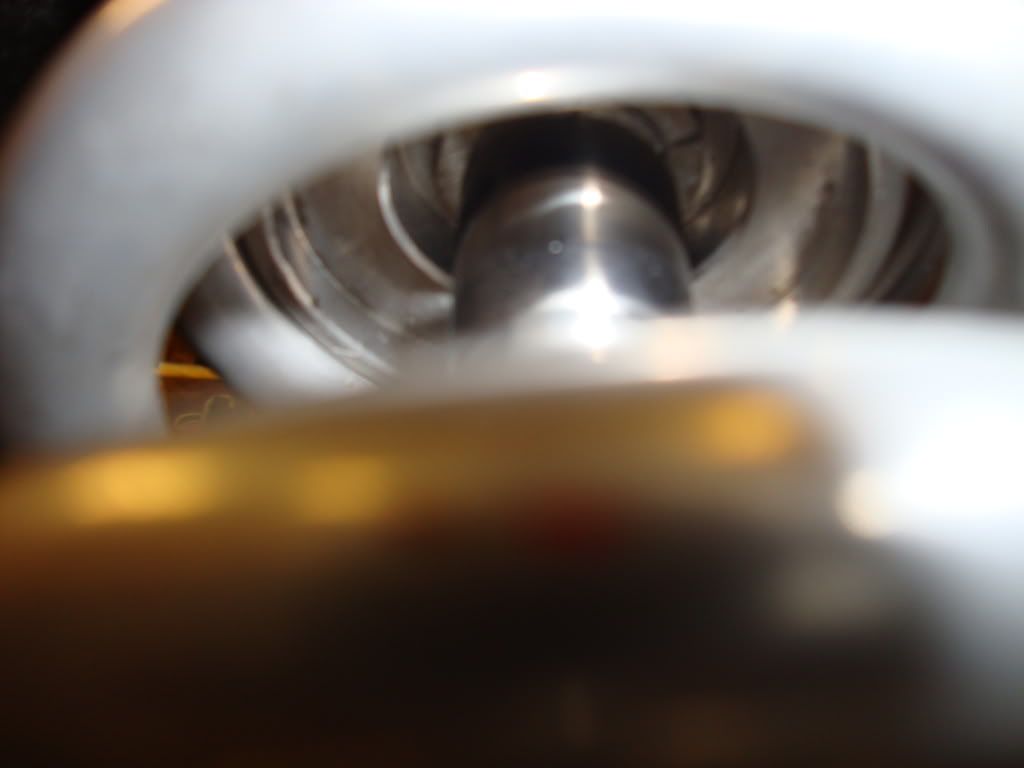
Then put on the collar and the top hat
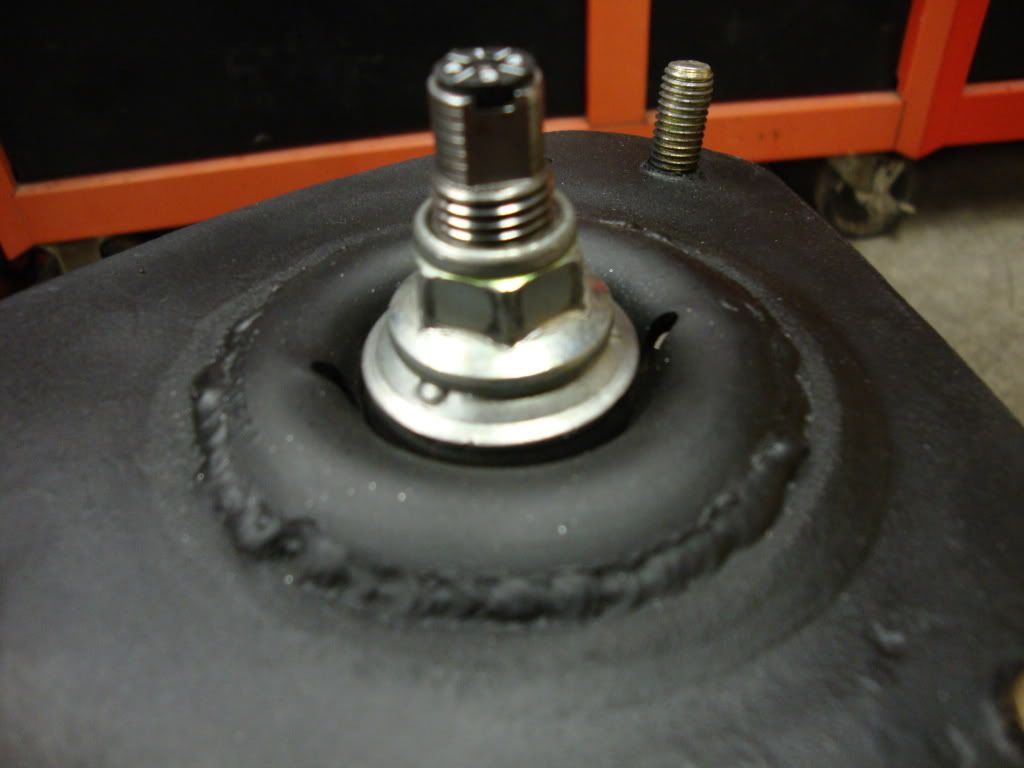
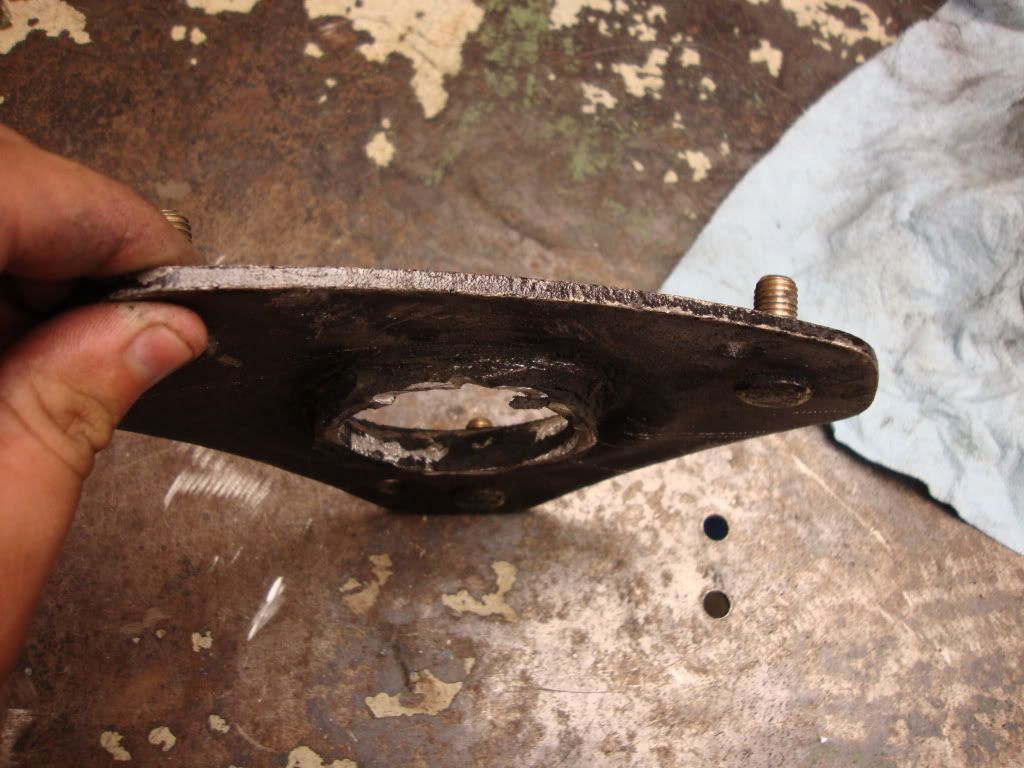
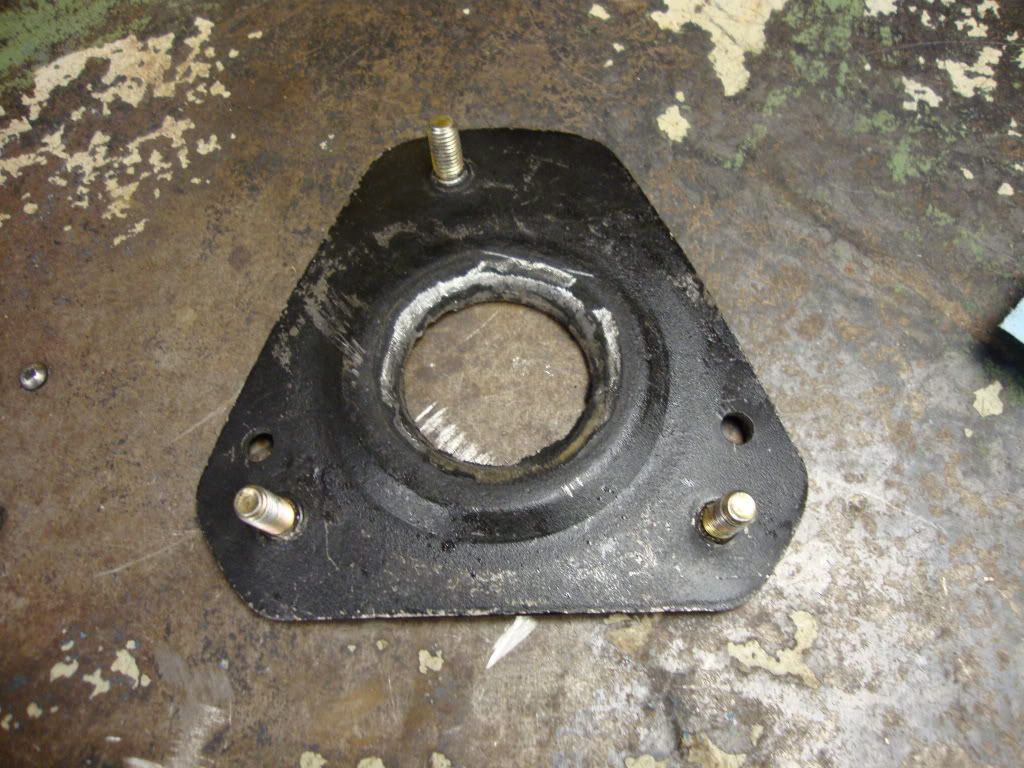
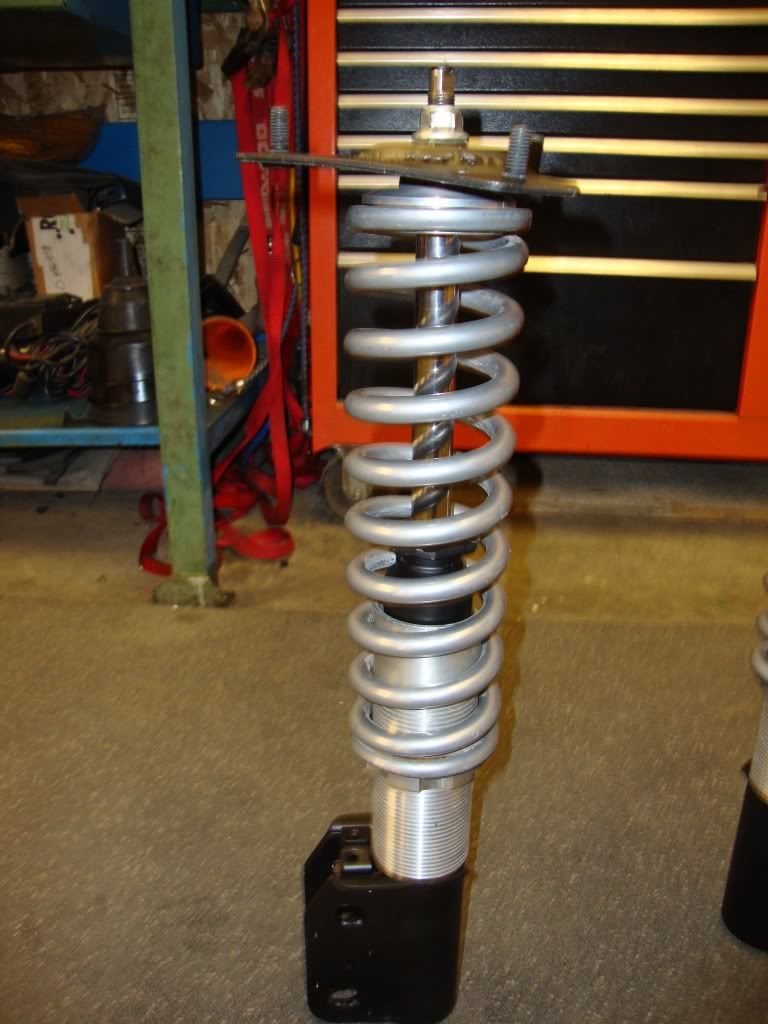
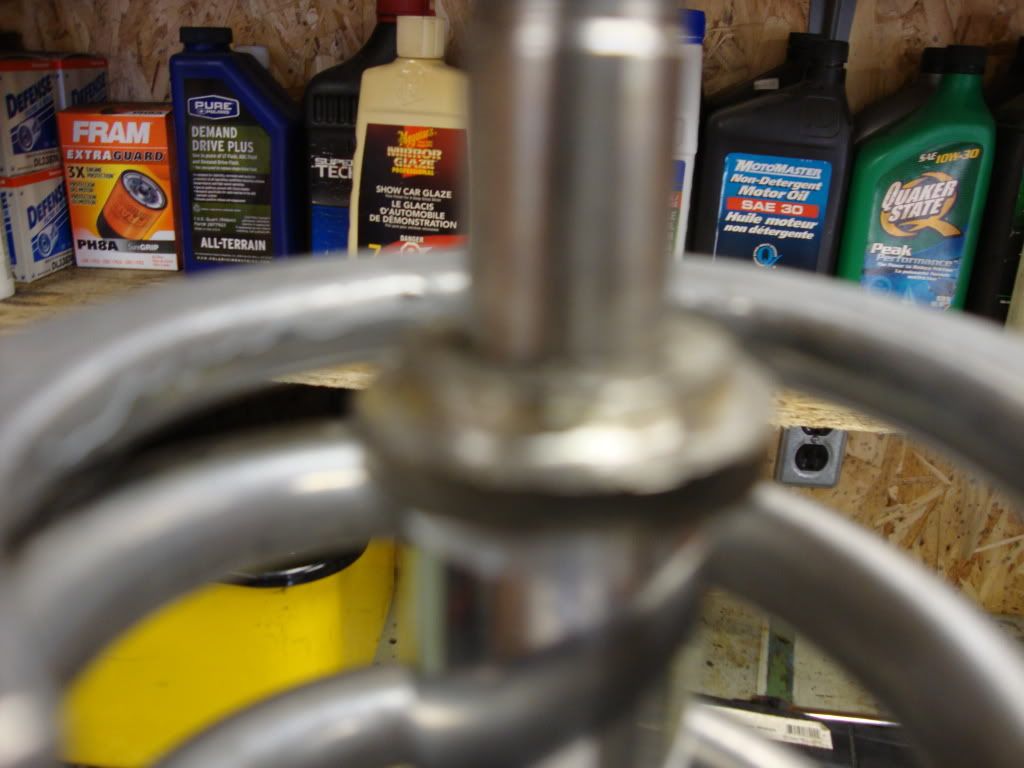
After the top hat is on, the first sway bar bushing goes on. You can see it sandwiched between the top hat and mount.
Then on goes the mount, the second sway bar bushing, the sway bar washer and then finally the strut nut.


 Previous Topic
 Index
Index