Start your car and let it warm up to operating temperature (you might want to drive it around for a few minutes). Note the positions of the needles with the engine at idle. On my car, the tachometer idles at 850 rpm, and the coolant temperature gauge lies steady around the first long hash mark. Fill the car with gasoline and note the gas gauge's position when you return home. These notes will be very handy in calibrating the needles after the new gauges are installed.
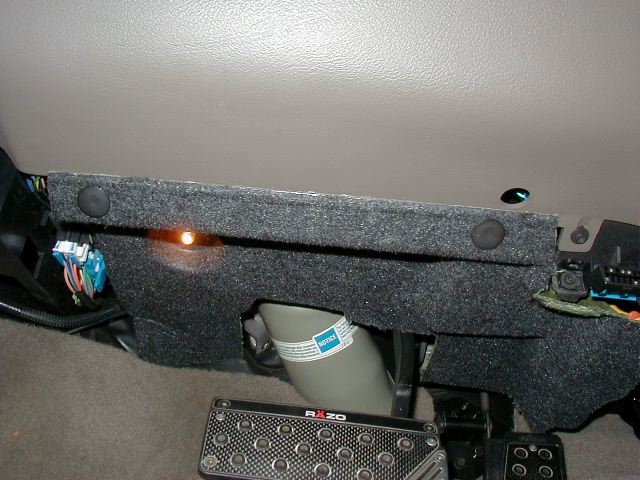
Pull out the two plastic retaining clips and lower the fiber panel to the floor. Twist and remove the courtesy light.
Use a Phillips head screwdriver to undo the two screws holding in this piece to the dashboard. To remove the panel, grasp it with both hands while sitting in the driver's seat and pull up towards yourself. The three metal clips holding it in place should pop out. One of the screws is visibile in the photo below.

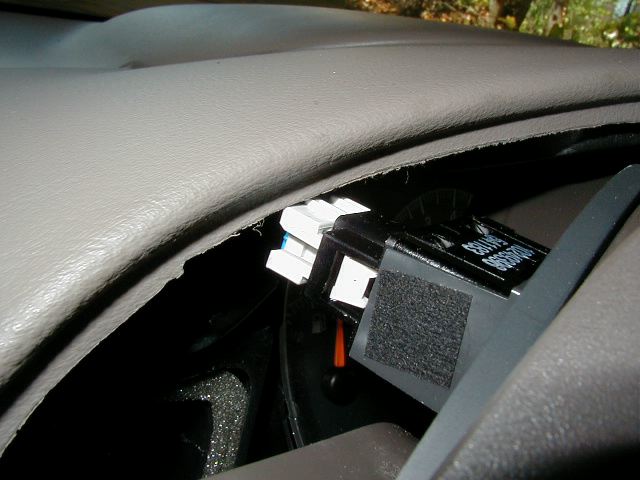
Carefully, but firmly, pull off the main dash panel. There are several clips holding it in; you might want to start with the portion that covers the radio and climate control units. Also, lower the steering column all the way before you start. Once the panel is removed, disconnect the fog lamp switch (shown below) with a screwdriver and set aside the panel.
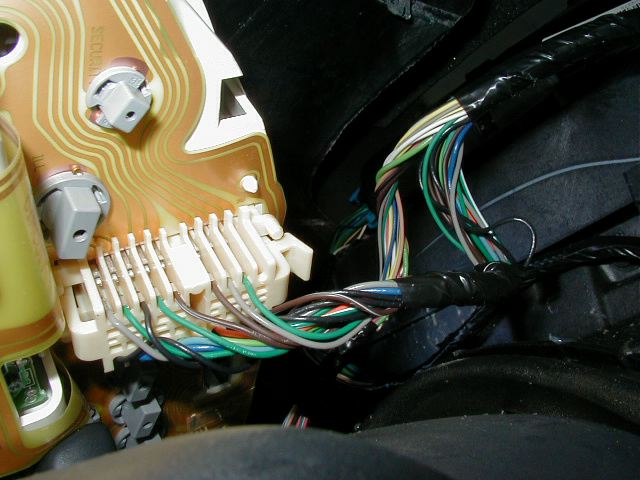
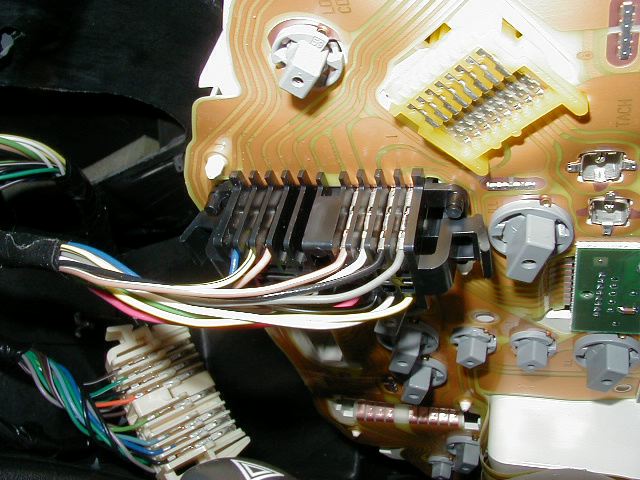
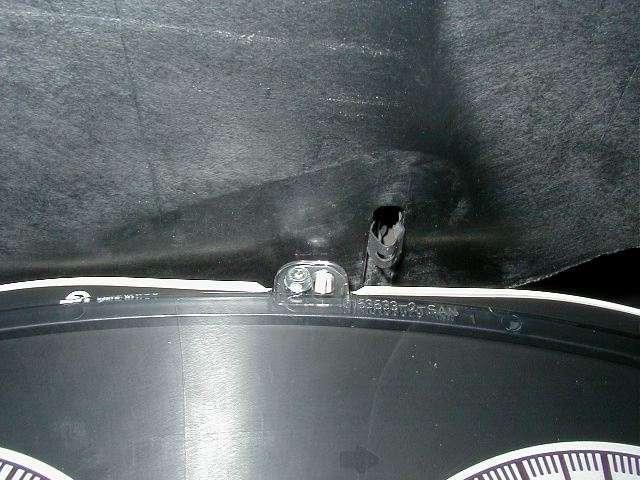
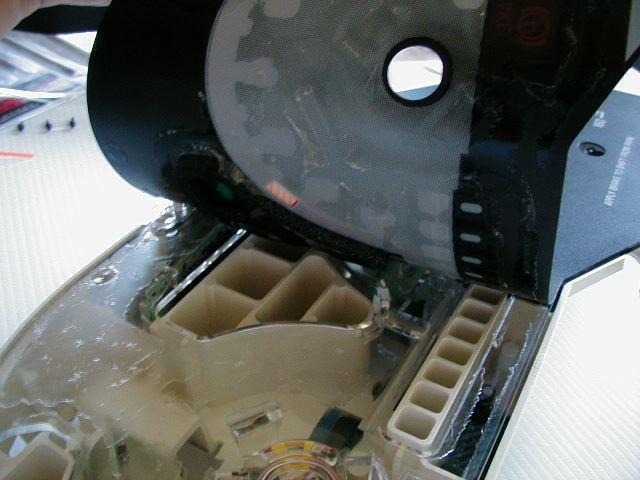
Remove the screws from the top of the IP cluster with a Phillips head screwdriver. Rotate the cluster toward you and lift up to disengage the locating pins on the bottom of the cluster. Disconnect the electrical connectors (this will require a firm hand; pictures of the harnesses are here and here). ***NOTE: Watch out for the retaining clip poking down from the upper dashboard panel! It reveals itself when the IP cluster trim panel is removed. Now that you have the IP cluster in your hands, take it someplace where you can work on it carefully (I suggest a table).
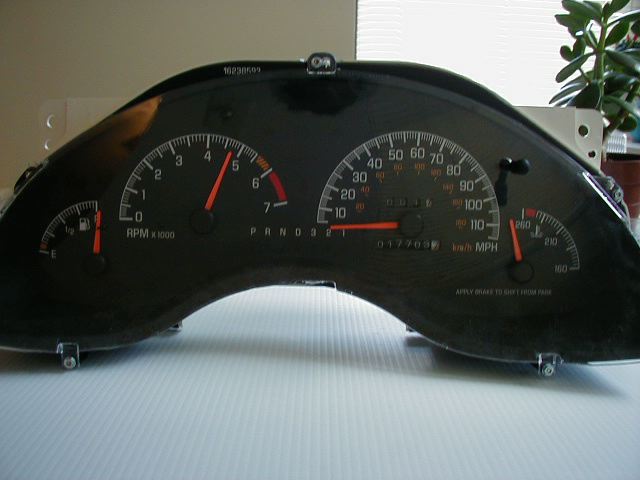
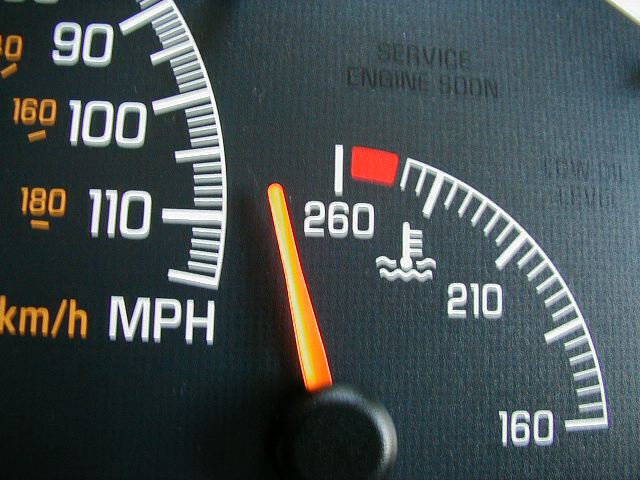
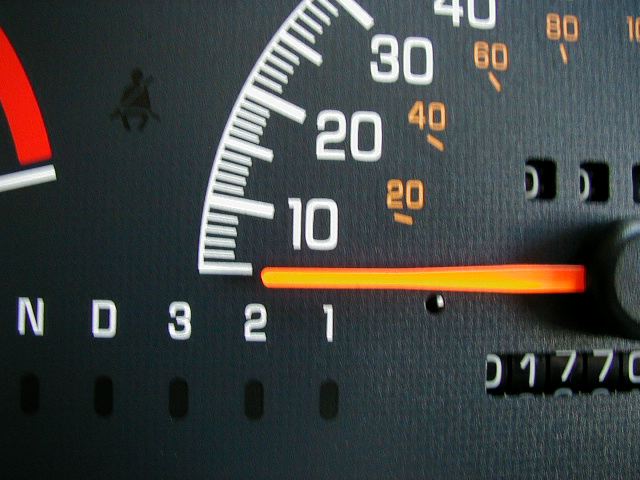
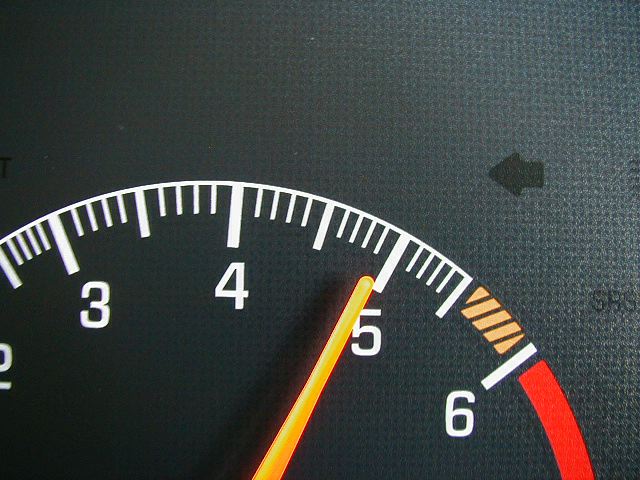
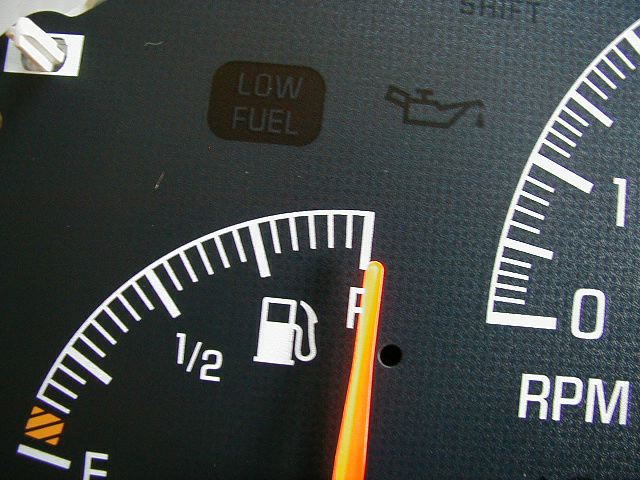
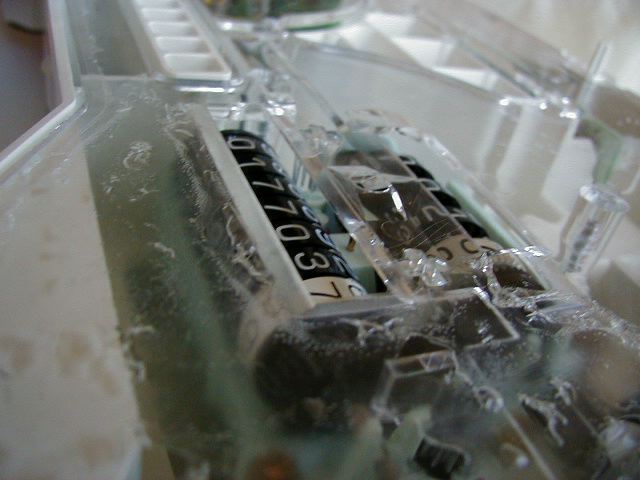
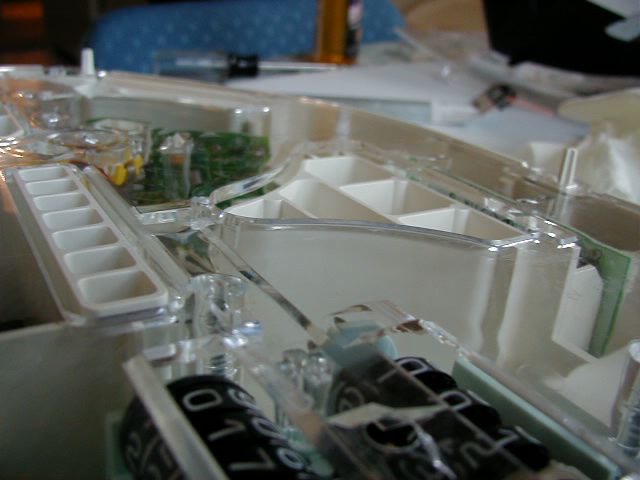
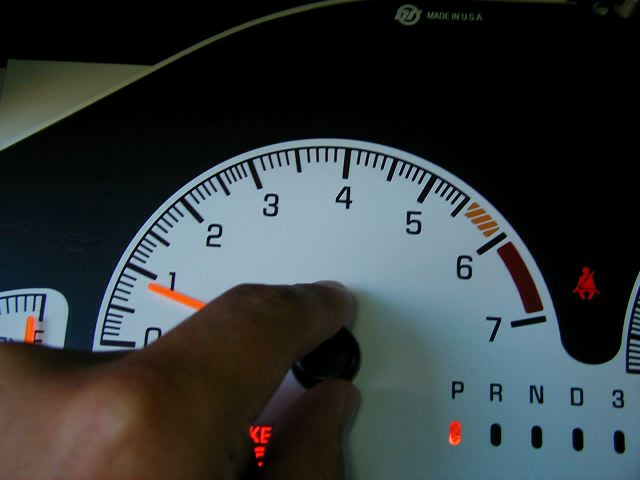
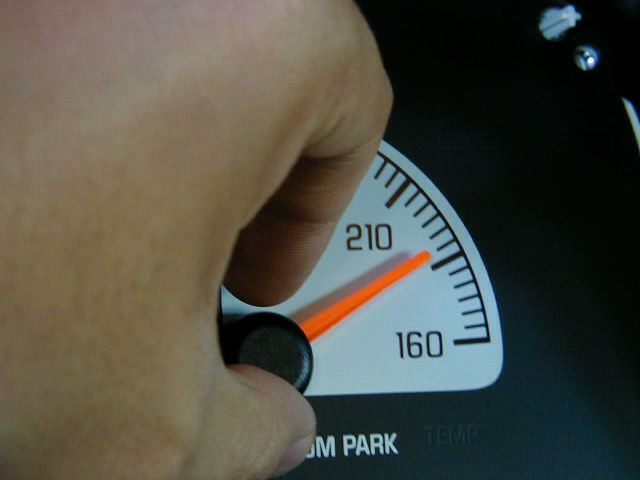
Use a Torx screwdriver (size T15) to remove the screws holding the clear plastic cover and frame. Using a pair of pliers or your fingers, pull off the needle stops for the fuel, RPM, and MPH gauges. At this point, take the time to carefully note the positions of all the needles on the gauge faces. I used a digital camera, but a few notes on a piece of paper would work just as well. You can see the snapshots I took here, here, here, and here.
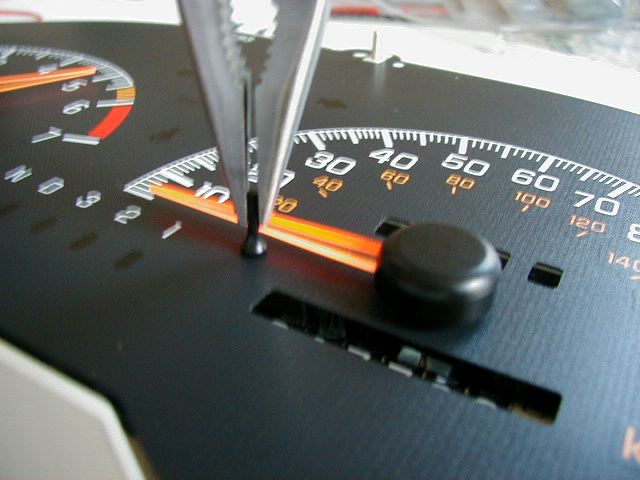
Use the supplied needle remover or your fingers to pull off the needles. NR Auto's directions are as follows: "Place tool or pliers under needle and using a very light amount of pressure at 12 o'clock position, slightly lift under needle lifting with minimal pressure. Repeat procedure at 3, 6 and 9 o'clock (in clockwise movement around shaft) until needle is removed from shaft." This may or may not work for you; it took me more finger pulling than gentle prying. Be careful not to damage the needles while you remove them. TIP: In an effort to keep the needles calibrated correctly, I held the needle steady at the tip with one hand while pulling it off at the base with the other hand. When I was done, only my tach needle needed to be adjusted for accuracy.

Like the gauges you are about to install, the stock gauges are stuck on to the IP cluster. Start at one end and carefully peel off the gauges. If you're having trouble, get started by gently prying up an edge with a sharp knife. Be patient; you might damage the clear plastic underneath if you try anything rash. When you get to the trip odometer reset stalk, start to peel off the gauges from the other side. Once the gauges are off the IP cluster, take the time to remove any of the gunk that's stuck to the clear plastic. I used a combination of thumb power and a tiny bit of Goo Gone applied with a paper towel. Once all the gunk is off, clean the surface thoroughly with a high quality glass cleaner. Any residue still on the clear plastic might affect the lighting quality of your new gauges.
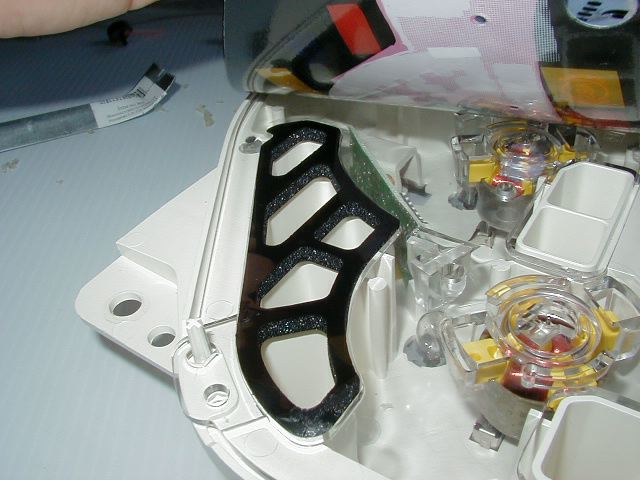
There are three pieces of foam attached to the back of the stock gauges. They exist to keep certain lights from bleeding over into other areas of the display. Note how the foam is actually sandwiched between two pieces of plastic. Use a knife to pry apart the plastic from the back of the stock gauges and remove the foam pieces. Clean off any gunk from these pieces, then place them in the "indentations" in the clear plastic portion of the IP cluster. Some people have suggested that the foam pieces should be attached to the back of the white face gauges instead; I found it rather difficult to make the gauges lie flat using this method.


Now here's the part you've been waiting for! But don't get too excited - this part is very crucial to the appearance of your gauges. Before you remove any adhesive backing, TEST FIT the white face gauges just by slipping the overlay over the trip odometer rest stalk and fitting the holes on the overlay over the posts on the IP cluster. Some people have noticed that the odometer and trip odometer readings are partially obscured; try adjusting the gauges so that they sit as close to the top of the IP cluster as possible. Once you get a feel for where you want to position the gauges, remove the adhesive backing and gently lower the overlay onto the IP cluster. The adhesive will not stick hard until you press hard, so take your time to position the overlay correctly. If you happen to inadvertently pick up the foam pieces before you finalize the overlay position, use a knife to pull them off and return them to the IP cluster. When you are satisfied with the position of the overlay, apply firm pressure to the gauges from the inside going out to the edges.
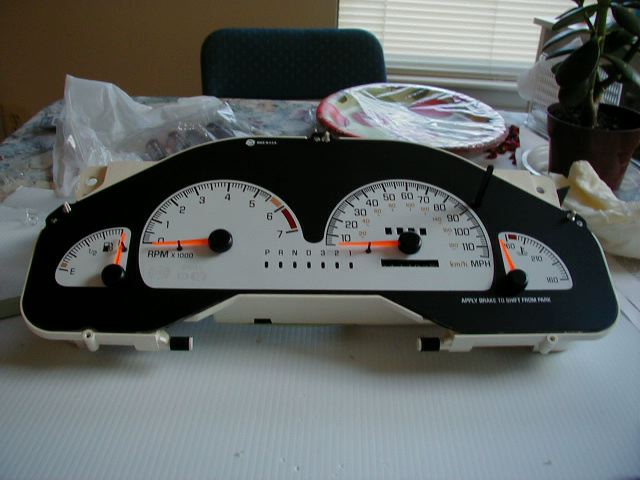
Recall the needle positions you recorded before removing them a few steps back. Use them to gently press the needles back into place. Do NOT press them all the way onto the pin! Use only enough force to seat them; you may have to tweak the positions. Once all four needles are on the IP cluster, insert the three needle stops. Your IP cluster should now look something like this.
Take your IP cluster out to your car and attach the wiring harnesses. Now start up your car and let the engine warm up to normal operating temperature. Use your notes from the very beginning of this procedure to verify the positions of your gas gauge, tachometer, and coolant temperature gauge. If they need to be adjusted, remove the needle from the cluster while the car is running (preferably parked) and gently replace them in the correct position. Checking the speedometer is easiest if you have a HUD or Autotap handy. Set the cruise control on your car to a low speed on an open stretch of road and verify that the speedometer reads correctly. If it is off, carefully adjust the needle. Watch for traffic! If you were careful, you won't have to adjust the needles at all. Once the needles are calibrated, seat the needles by pressing them firmly onto the pins. Park your car and remove the wiring harnesses. Bring your IP cluster back inside.
Replace the frame and clear plastic cover to your gauges using the Torx screwdriver. Reverse the IP cluster removal instructions to complete the install.
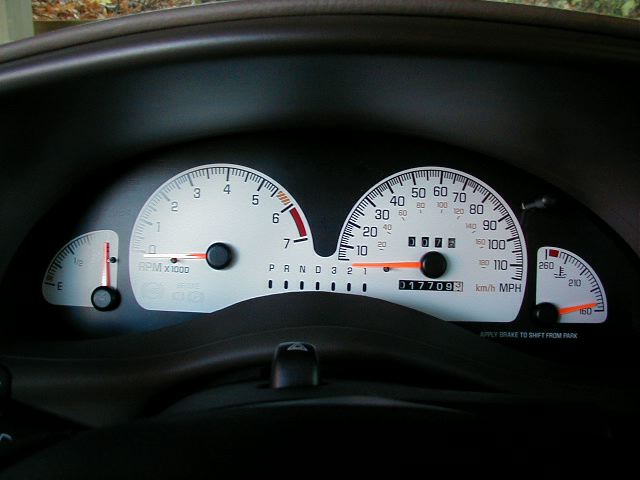
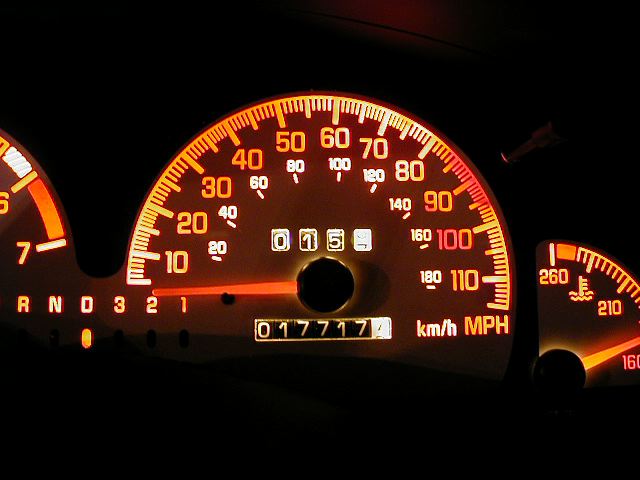
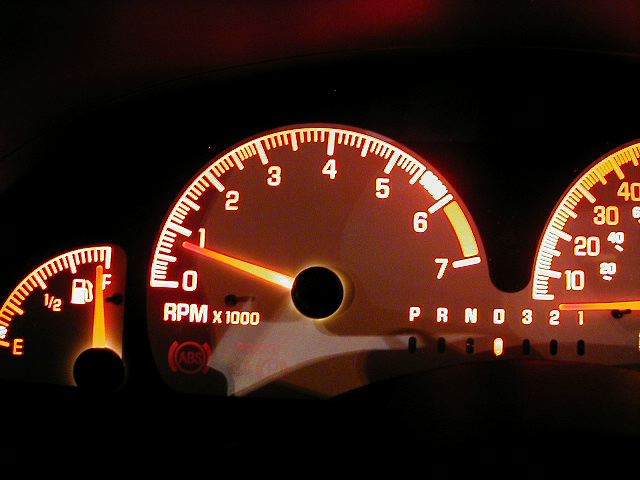
You're done! Go take your car for a test drive and make sure everything works correctly. Your gauges will resemble the photo below in the daytime. At night, depending on how well you lined up your gauges, they will look somewhat like this or this. Notice the slightly uneven coloring on the speedometer dial. This is caused by the foam pieces transferred from the stock gauges blocking light to the dial. If the gauges are placed too high on the IP cluster, the dial will be unevenly lit; however, if they are placed too low, the odometer will be partially obscured. Now that you're done, go brag to your friends about how easy the whole thing was! :-)